
Contents
If you’re looking for a product with:
- High emotional value
- Strong personalization potential
- Seasonal and evergreen selling power
- And standout visuals that justify premium pricing
👉 Shaker ornaments are your opportunity.
Unlike standard flat ornaments, these feature multiple layers and moving “charms" that create a playful movement. From first Christmas milestones and baby keepsakes to couple memories, pet tributes, and collector-style designs, this product taps directly into what buyers love most: personalization + emotion + visual delight.
In this guide, we’ll walk you through how to use Merchize’s templates and mockup files to create professional-grade designs using Photoshop or Photopea.
Let’s dive in and turn your designs into best-selling products.
Step 1: Download Your Files
Before you start designing, set up the foundations. Merchize provides specific templates to ensure your cut lines and print areas align perfectly.
1. Navigate to merchize.com and use the search bar to find the Shaker Ornament.
2. On the product page, click the “Download Mockup and Template” button or locate the “Template and Mockup" tab to find downloadable link.
3. Click the downloadable link and download the provided template files to your computer.
You can also download the template versions for the Shaker Ornament here.
Step 2: Open the Template
You can open the file in Adobe Photoshop. If you don’t have Photoshop, you can use other free alternatives like Photopea.
- Go to photopea.com.
- Drag and drop the downloaded template file directly into the workspace.
Understanding the Shaker Ornament Layers
A shaker ornament consists of three main acrylic layers. Understanding these is key to a functional design:
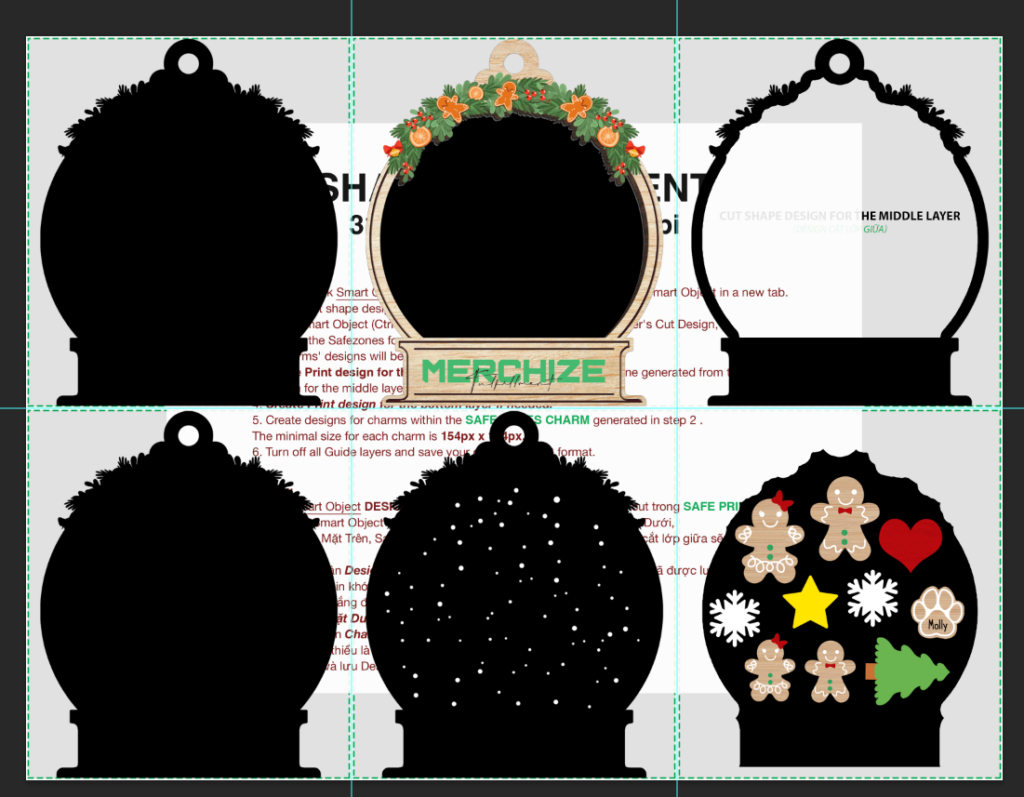
- Top Layer: A solid acrylic piece that seals on the top. The cut shape and print design for this layer are placed in these two sections in the template.
Note for design: Use a transparent background for the print design so the charms inside remain visible through the top layer.
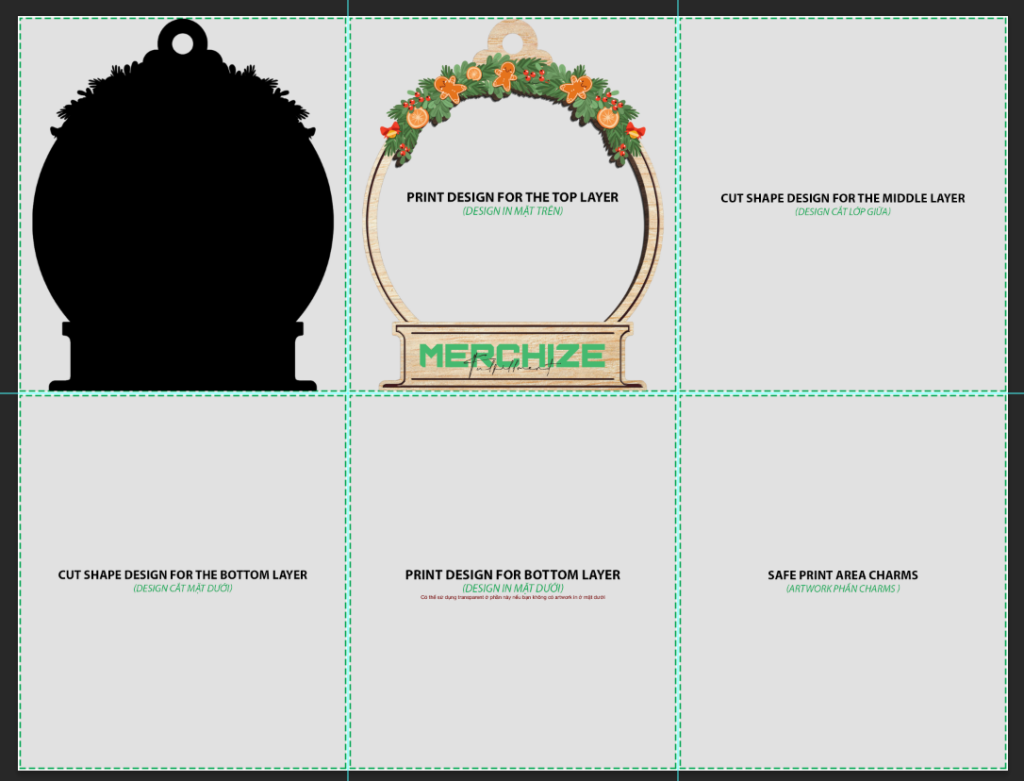
- Bottom Layer: This layer seals the back of the ornament. Add your cut shape design and print design in these sections.
Note for design: You can choose a transparent print for a “floating" look or a full-coverage print to act as a decorative background for your charms.
- Middle Layer: This acts as a “wall" or spacer. It features a cut-out section that creates the cavity where the charms go. You only need a cut design for this layer; no printing is required.
Note for design: Ideally, the print design on the top layer should cover the entire middle layers. If the print doesn’t fully cover the middle layers below, it will show imperfect glue workings underneath.
- Charms: These are the small pieces that move inside. They are printed and cut separately.
Note for design: Charms should fit into the cut-out of the middle layers.
Important:
- The “Cut" design tells the machine where to shape the acrylic, while the print design is the actual images that will be printed on the surface of the acrylic. Your cut shape must be filled with solid black.
- Always pay attention to the dashed green line. This is the Safe Print Area. Keep all essential text and design elements inside this line to ensure they aren’t lost during the cutting process.

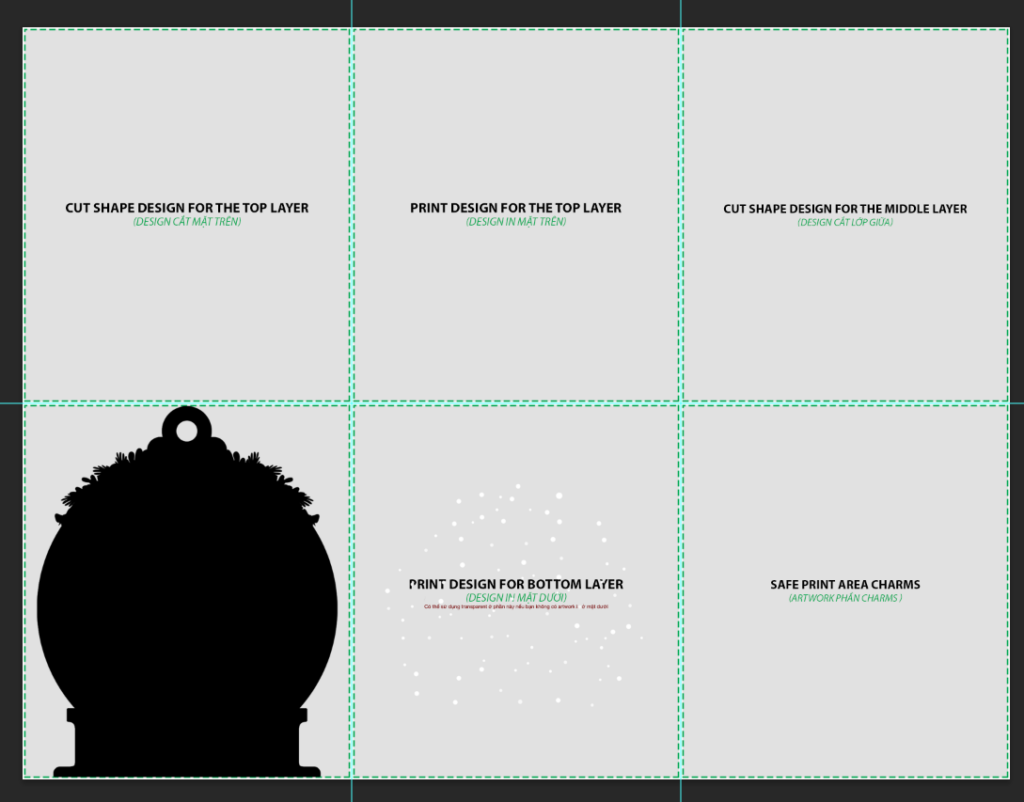
Step 3: Create the Cut Designs
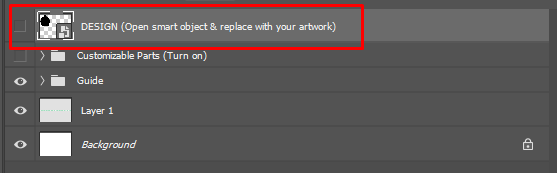
1. Double-click the layer thumbnail of “Design layer” on the layer panel to open the Smart Object.
2. In the new tab, turn off the example layer and place your cut shape for the ornament on this tab. Check that your design is within the safe zone, then save the Smart Object (Ctrl + S) and close the tab.
Note: Remember to include a hanging hole in your cut shape design.
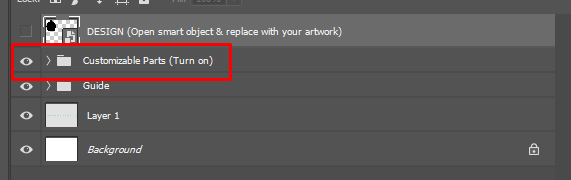
3. Back to the main template, turn on Customizable Parts. The cut shapes for the Top, Middle, and Bottom layers have been automatically generated based on the shape you provided.
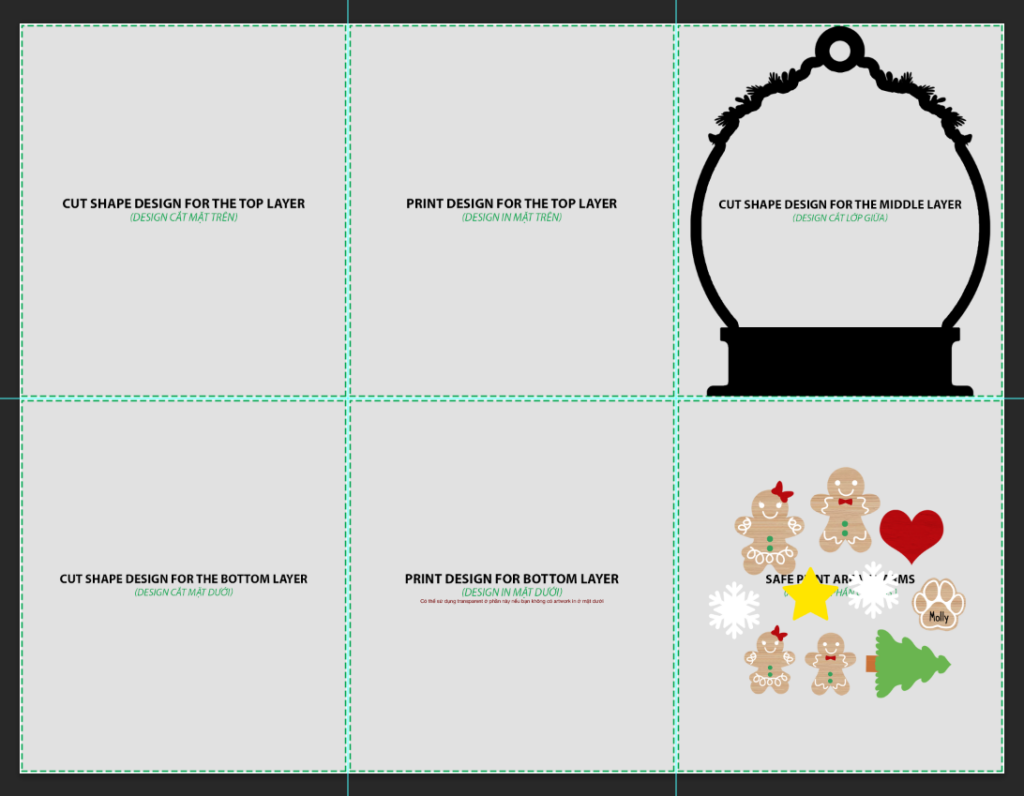
Step 4: Create the Print Designs
Now, apply the actual artwork to each section:
1. Expand the drop-down of Customizable Parts.
2. Under the Print Design group, turn on the following layers:
- Safe Area – Charm
- Safe Area – Bottom layer
- Safezone Printed Design

3. Based on the safezones revealed after step 2, you can add your print design for each section accordingly.
- Top Layer: Keep the background transparent.
- Bottom Layer: Either leave it transparent for a clear look or add a full-bleed illustration to serve as a backdrop.
- Charms: Place your charm designs within the generated safe zones. Also, take into consideration that a part of this safezone is already taken up by the middle layer’s outline frame. So your charms shouldn’t take up the whole safezone. Leave enough room for the middle layer and for the charms to move around.
Requirement: Each charm should have a minimum dimension of 154x154px to ensure print quality and structural integrity.
4. When done creating the Print design for the three sections, turn off all the Safe area layers (Safe Area – Charm, Safe Area – Bottom layer, Safezone Printed Design) and leave just the print design in the respective section.
Step 5: Export for Production
1. Turn off the Guide group and any other hidden or unnecessary layers.
2. Export design file in PNG format
- In Photopea: Go to File > Export As > PNG.
- In Photoshop: Go to File > Save a Copy > PNG (or use Quick Export as PNG).
How To Generate Realistic Mockups for Shaker Ornament
Once your design is ready, you’ll want to see how it looks in real life.
1. Open the Mockup File: Open the PSD mockup file in Photoshop or Photopea.
2. Insert Your Design: Double-click the thumbnail of the layer labeled “PLACE YOUR DESIGN HERE”. This opens a Smart Object.
3. Apply Artwork: Drag and drop the PNG design you exported in the previous phase into this tab. Save (Ctrl + S) and close.
4. Make it Realistic: By default, charms might look like they are floating. To fix this:
- Open the Artwork group and find the Customizable Parts.
- Manually rearrange the charm layers so they look naturally clustered at the bottom of the ornament.
5. Choose a Background: Toggle the layers in the BG (Background) group to select a scene, or adjust the color fill layer for a solid background.
Ready to start selling?
Now that you have your print-ready files and beautiful mockups, you’re ready to upload them to the Merchize system and launch your product!
Besides the Shaker Ornament, you can also apply this design process to other similar products, such as:


