How To Create Mockups and Product Campaigns With Merchize’s Mockup Generator
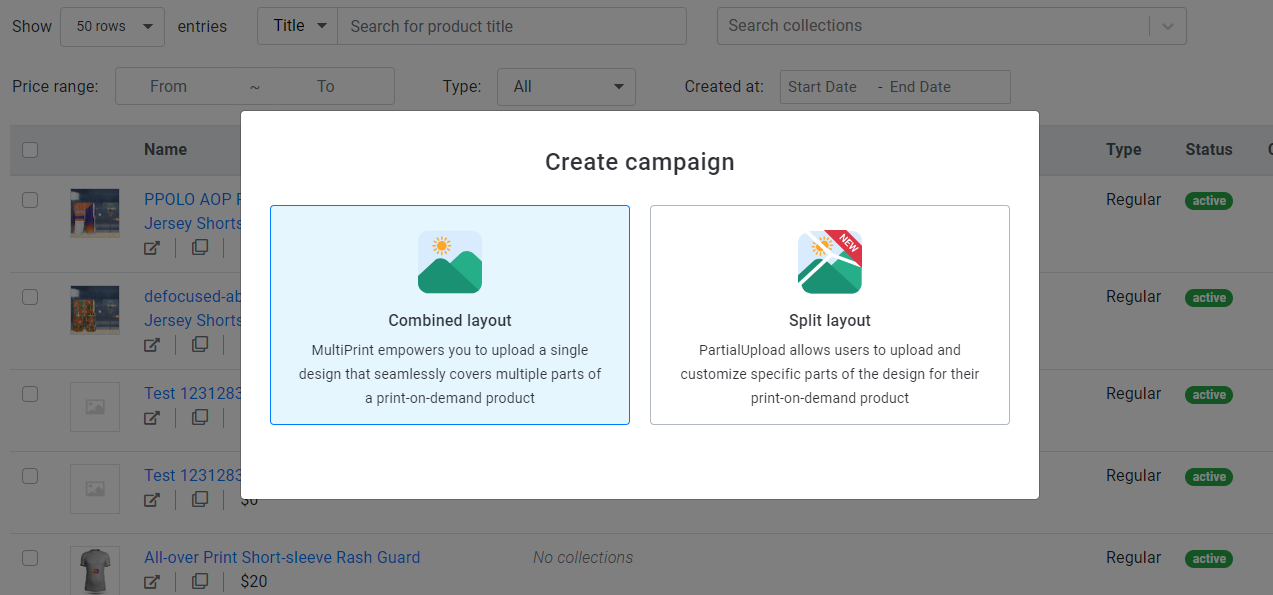
I. Combined Layout:
1. Choose the Products
When you click on “Combined Layout” in the popup panel, the product catalog will appear:
- Choose one product to:
- Create a single campaign (product link) from one product type.
- Create multiple campaigns (product links) from one product type in bulk.
- Choose multiple products to:
- Create a single campaign (product link) from different product types.
- Create multiple campaigns (product links) from different product types in bulk. Then, if you choose to sync the product to your sales channels such as Shopify, WooCommerce, Etsy, eBay, etc., the product link will include various product type attributes along with their respective variations under a single listing.
Select the product to load all variants & default information set up for this product.
2. Upload Your Print Files
- If you want to apply the same design to multiple product type variations, choose products that have the same dimensions and print specifications; for example, T-shirt, Hoodie, Sweatshirt, Tote Bag, etc.
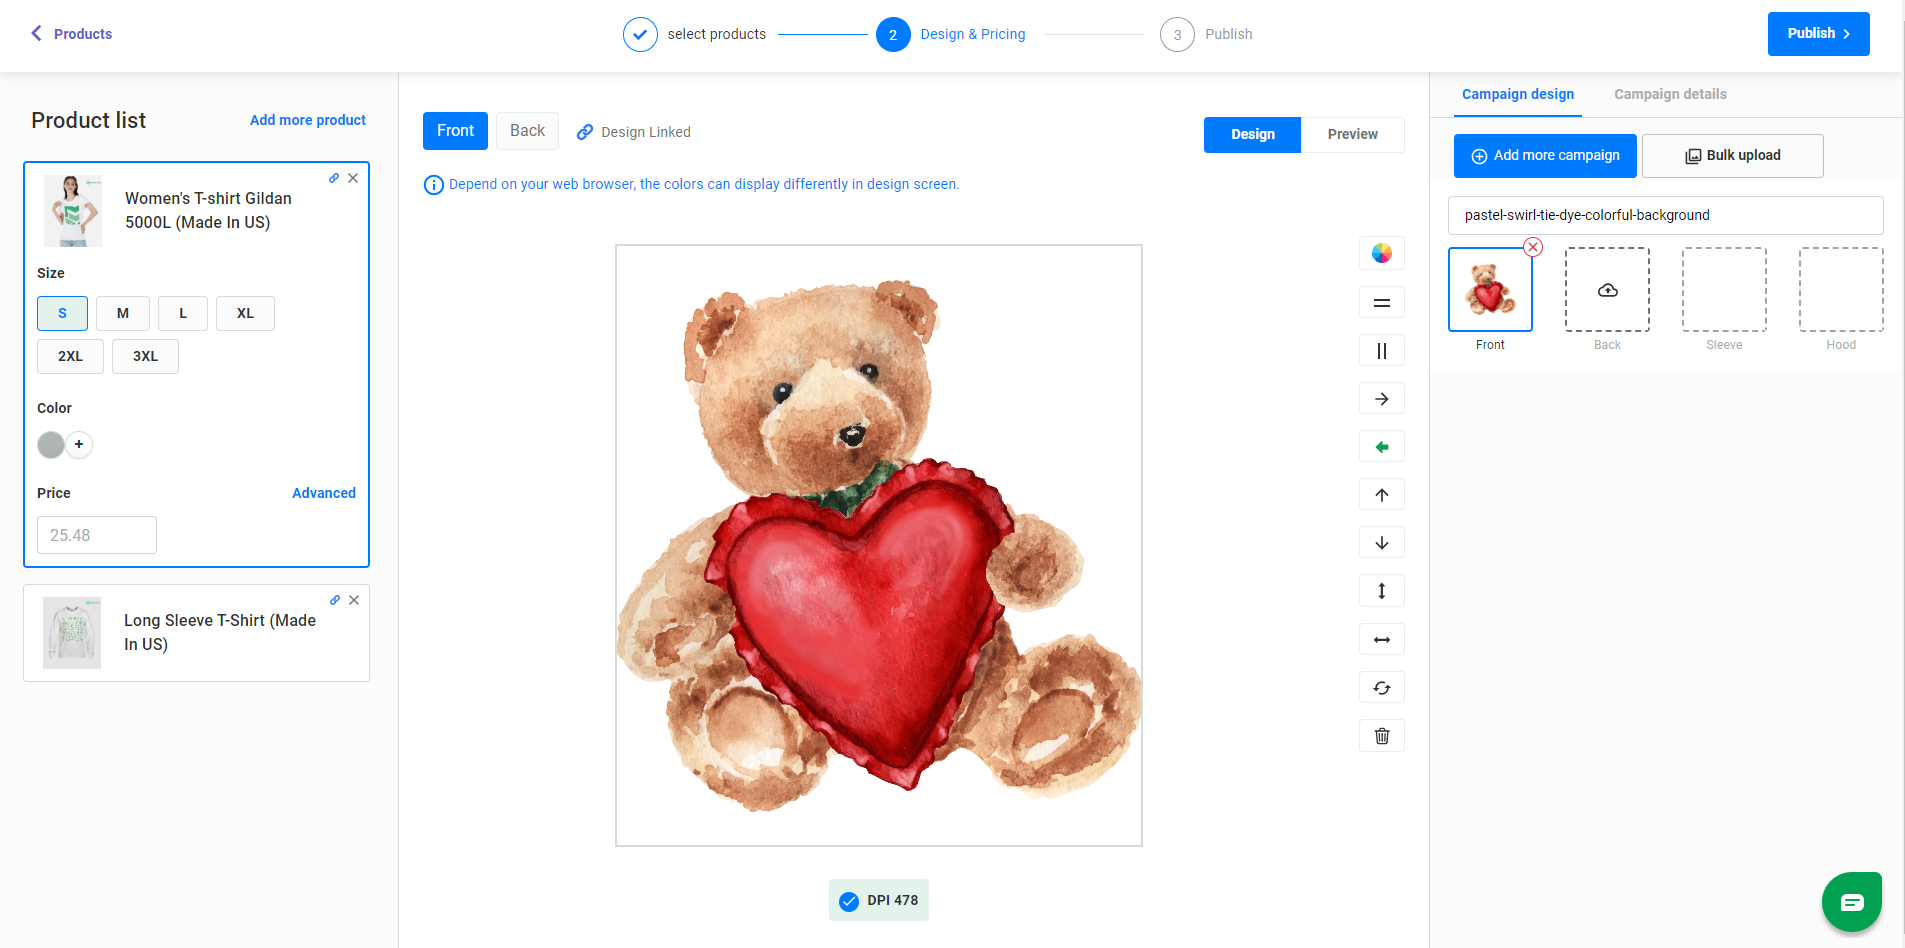
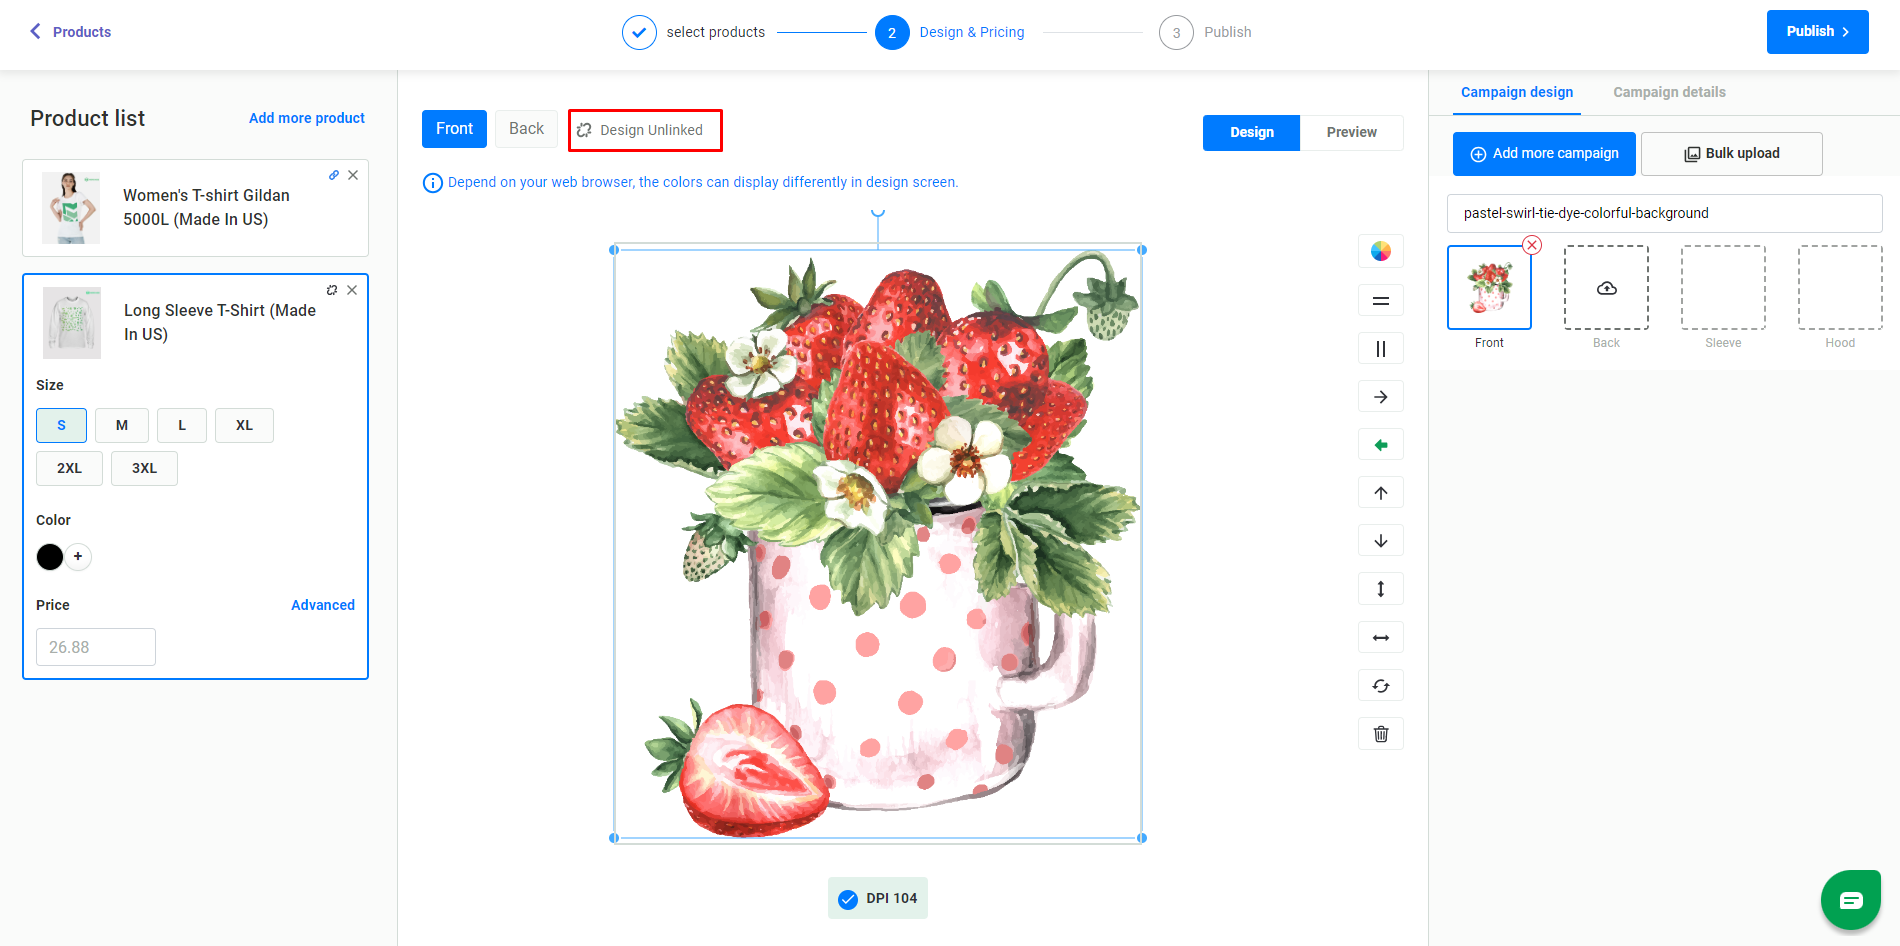
- If you want to apply different designs to multiple product type variations, click “Design Linked" to unlink variants.
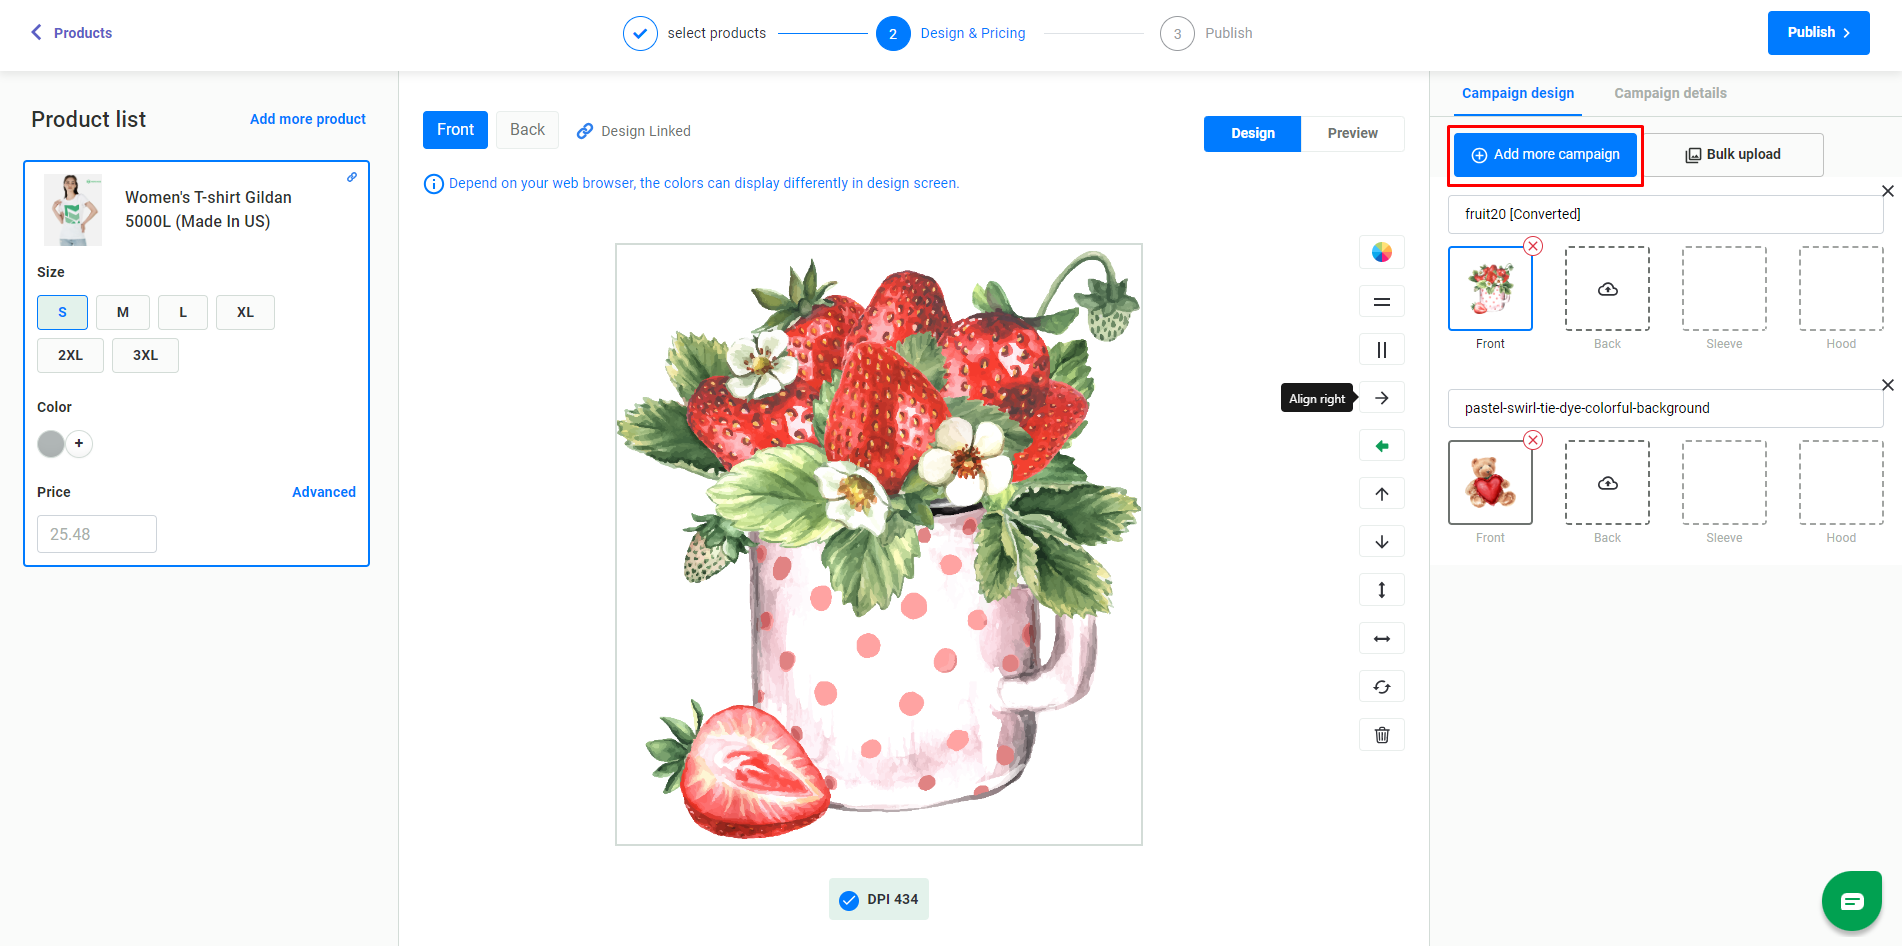
- If you want to create multiple campaigns from one product type at once, click “Add More Campaign" to add different designs.
(* ) JPG, JPEG, and PNG file types are accepted.
3. Generate Your Product Mockups
Click “Preview” to generate product mockups.
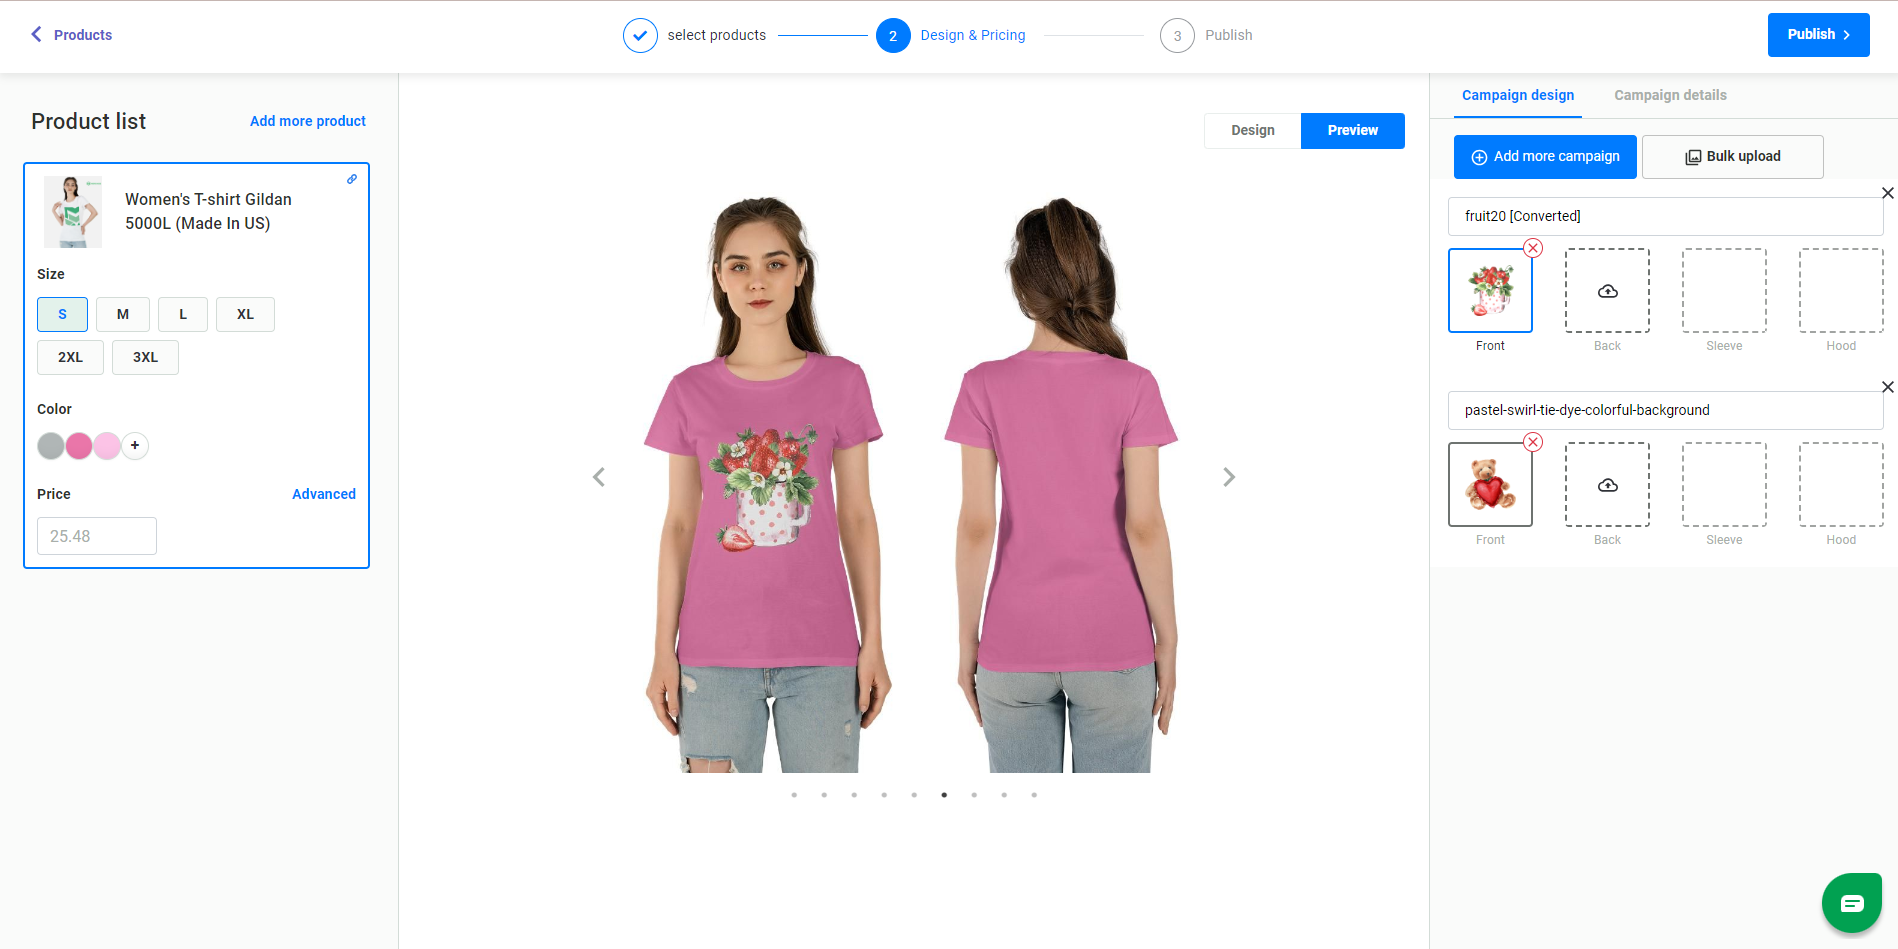
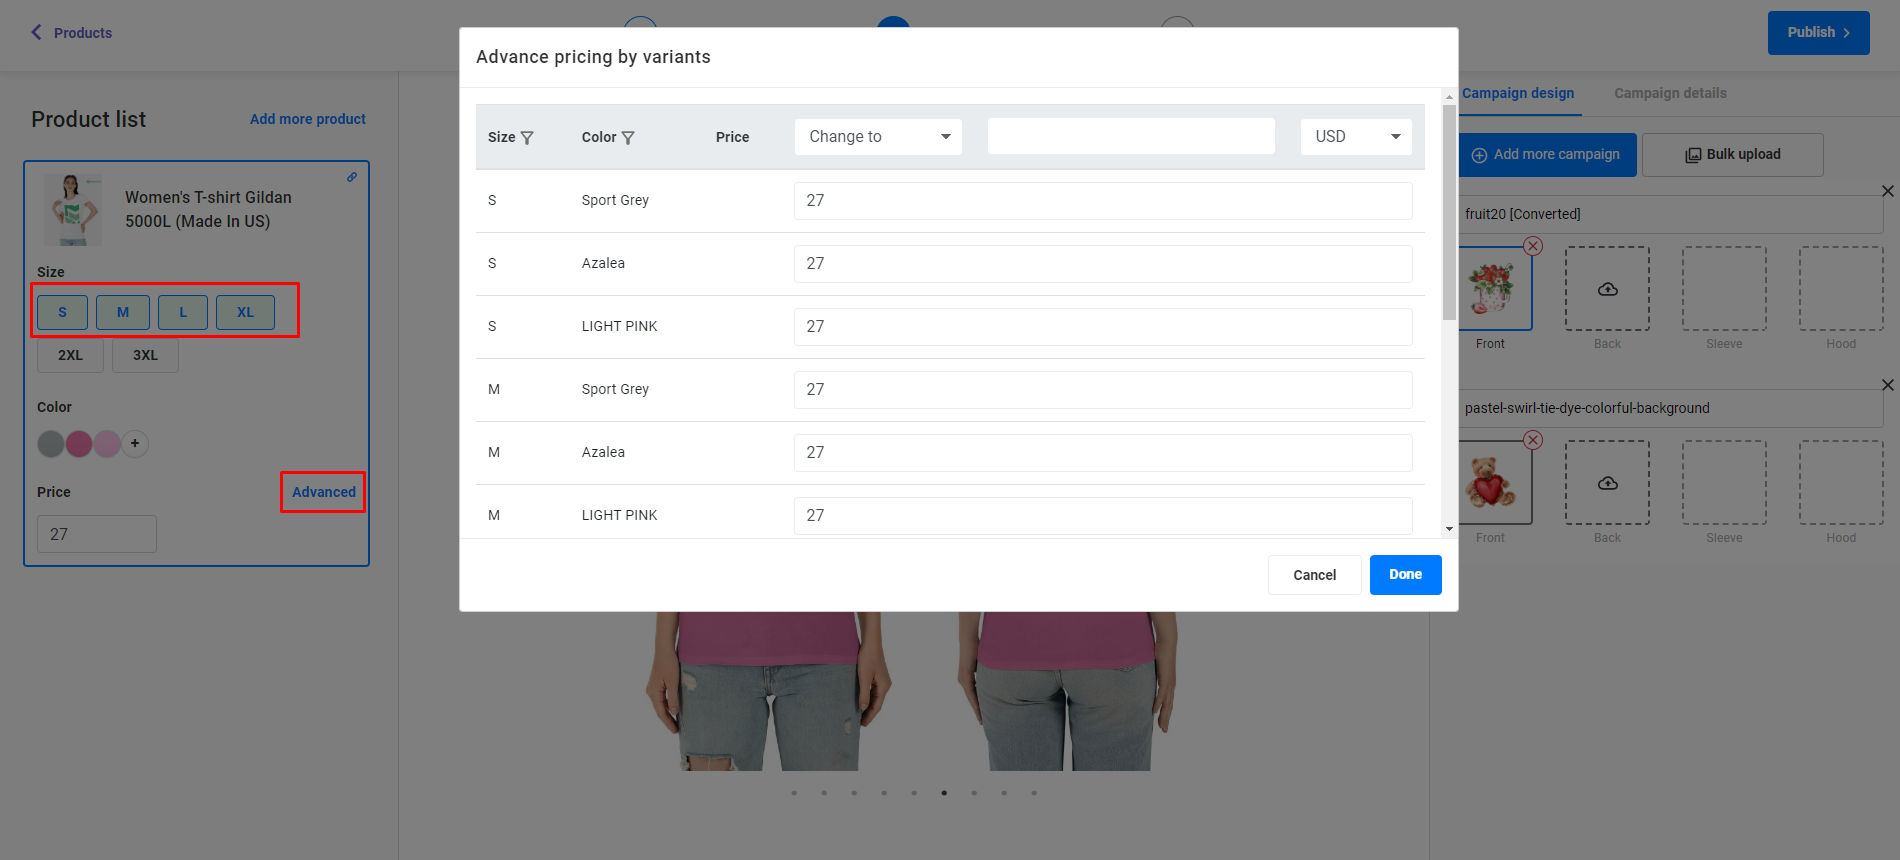
4. Set Up the Product Information
Click and select Variants, then enter the Price or change the Price for each variant in the “Advanced" Dialog.
Enter the Product Title, and add Description in the “Campaign details" tab.
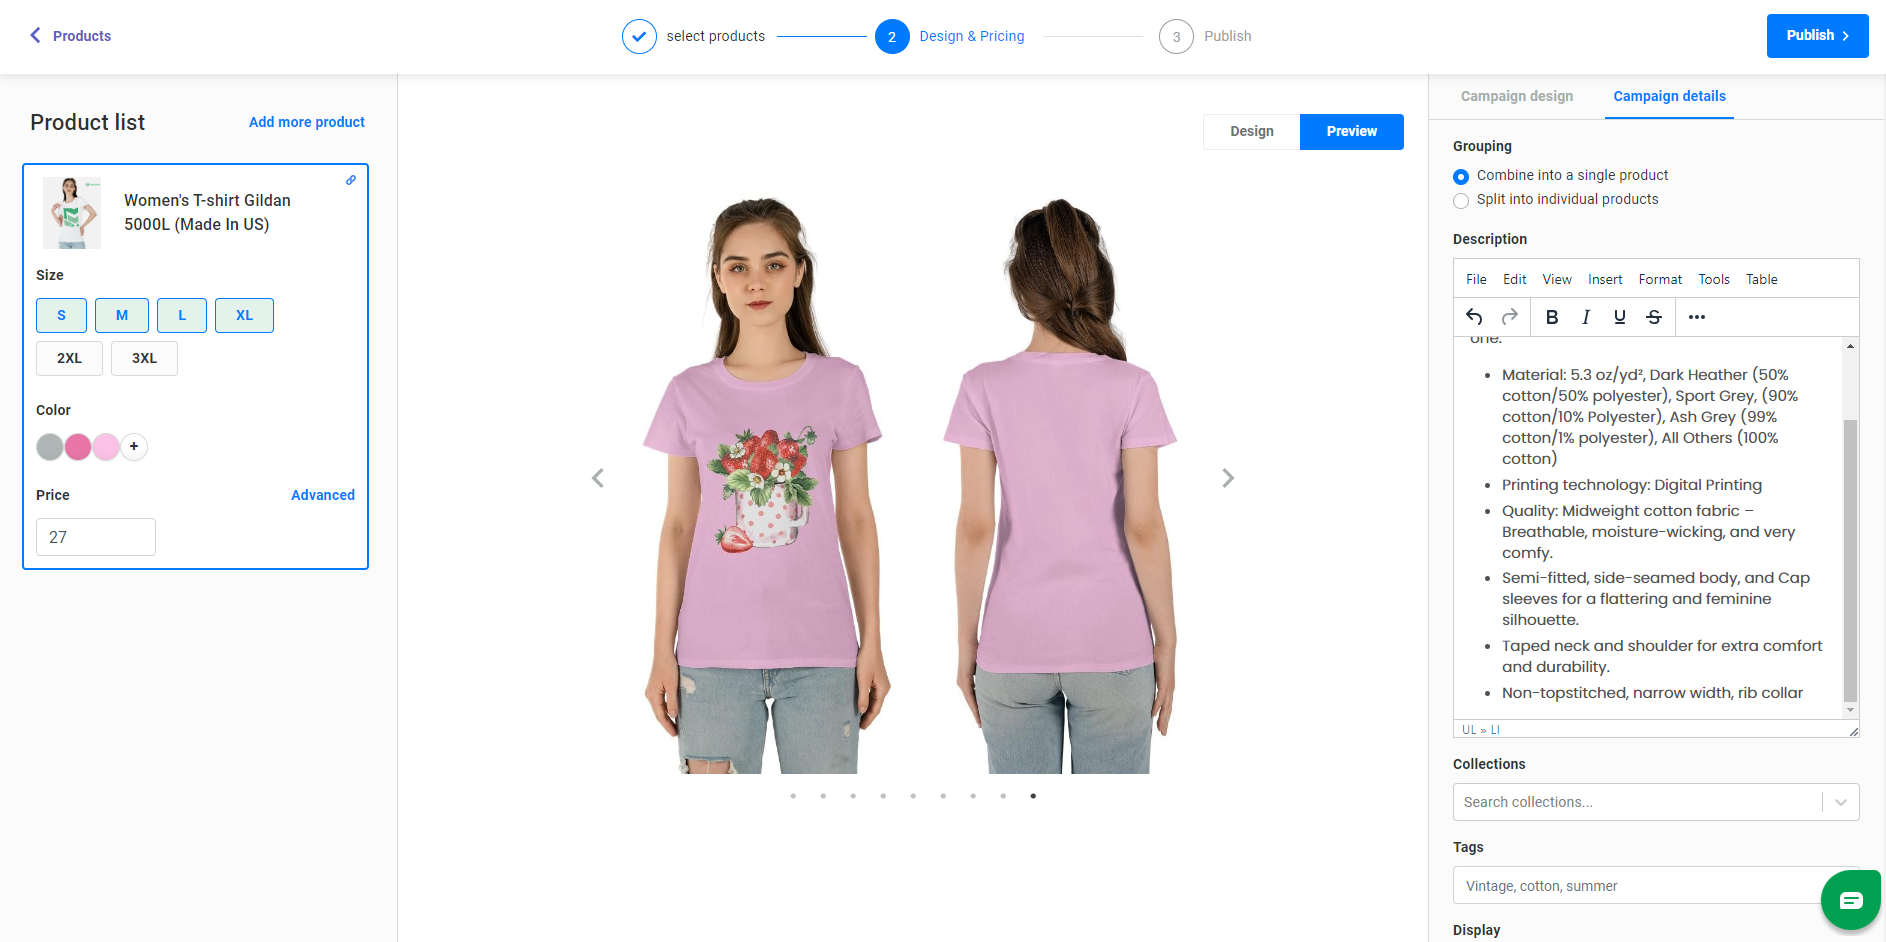
5. Publish Your Product
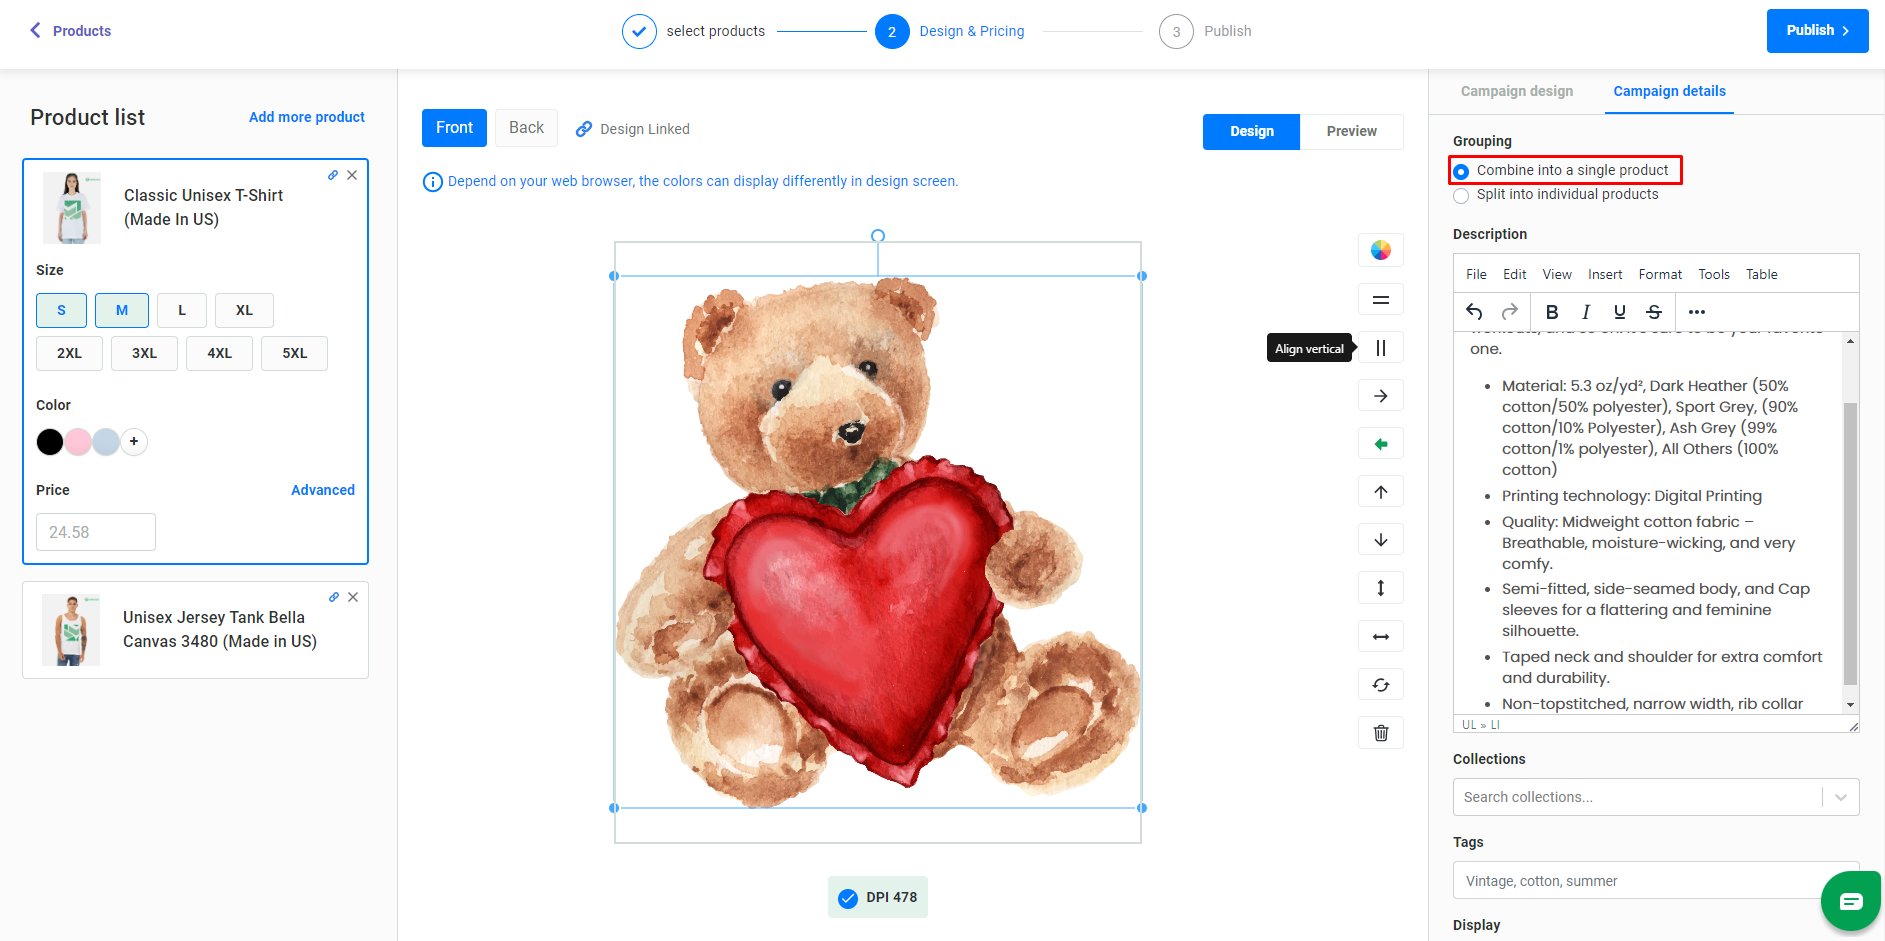
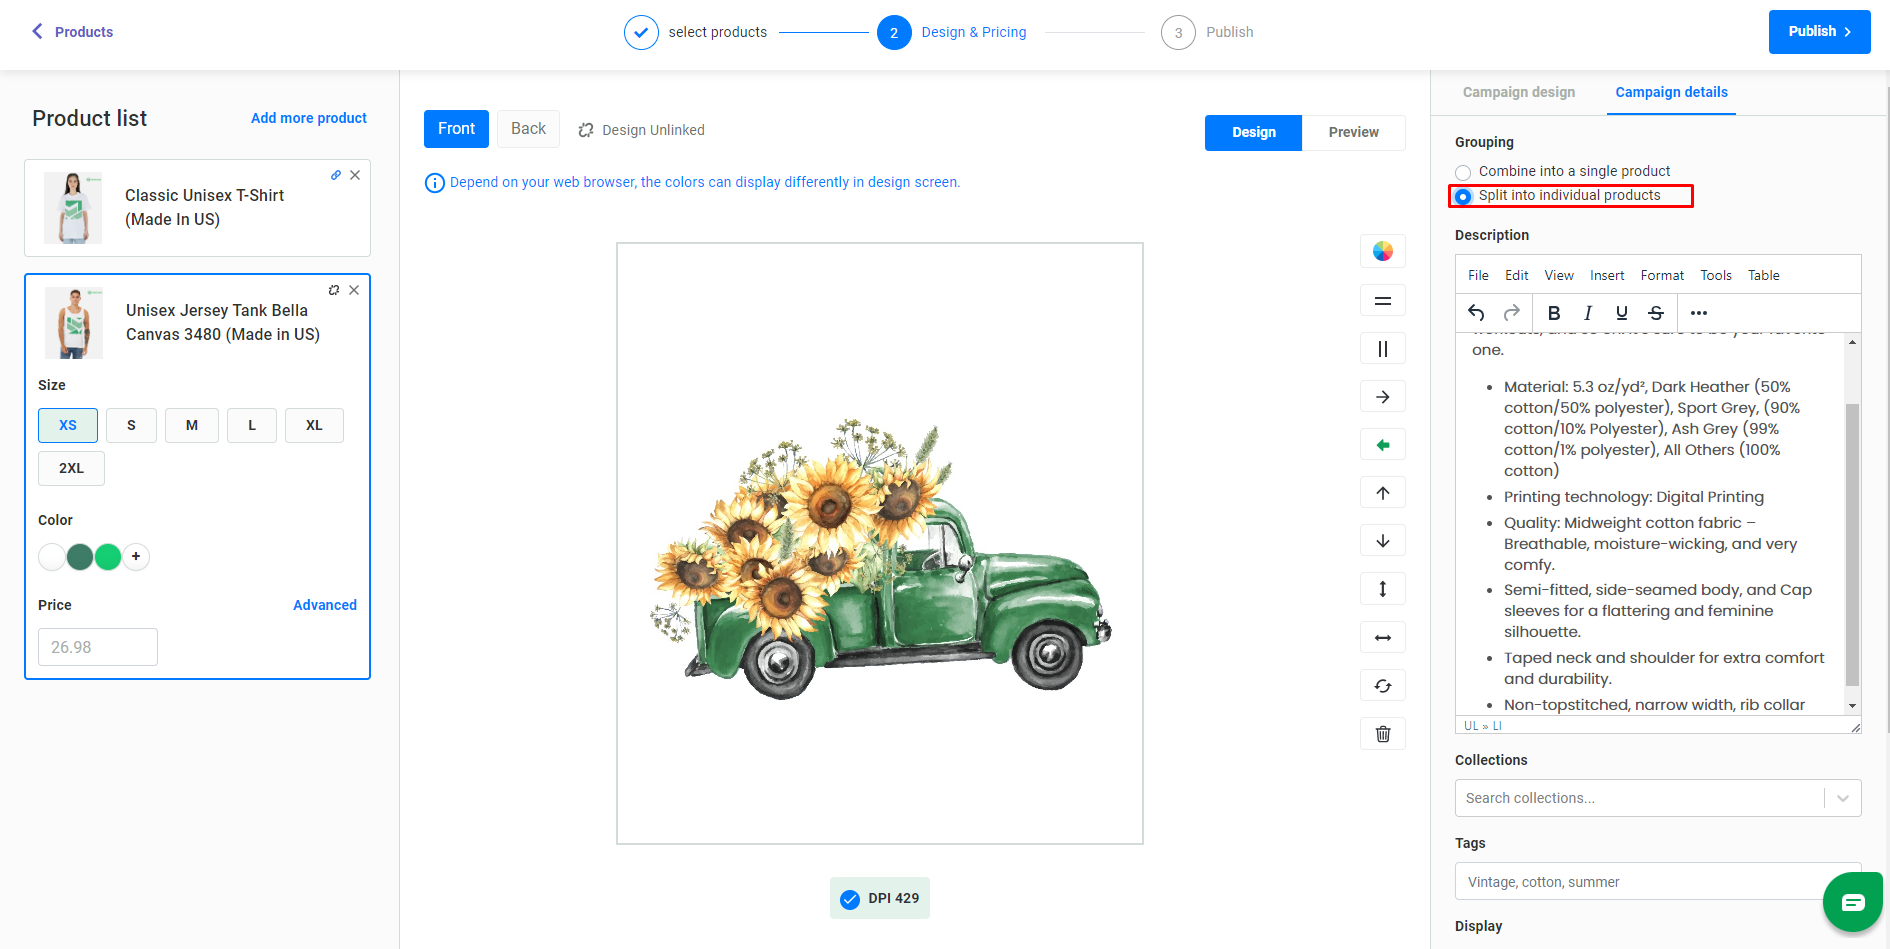
Before clicking “Publish”, make sure in the Campaign details tab, you choose the option:
- “Combine into a single product” for creating a single campaign.
- “Split into individual products” for creating multiple campaigns in bulk.
II. Split Layout:
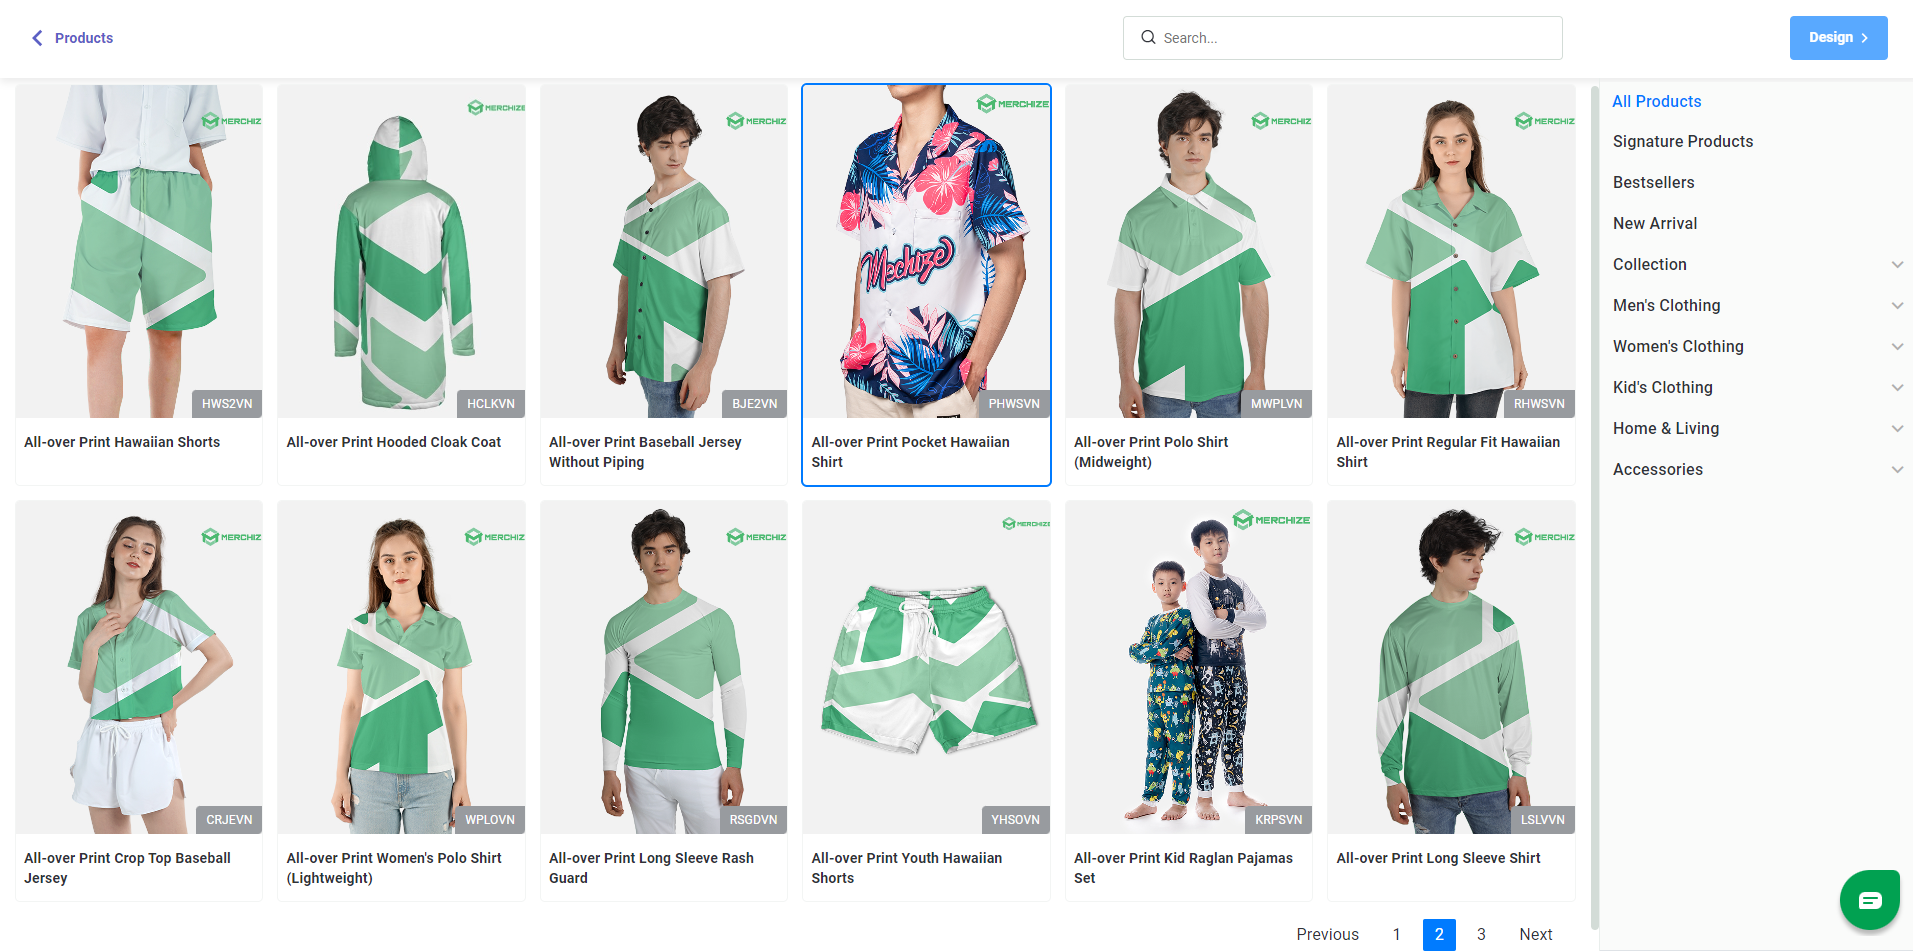
1. Choose the Products
Upon selecting “Split Layout” from the popup panel, the product catalog will be displayed. Select the product you wish to customize and click “Design“.
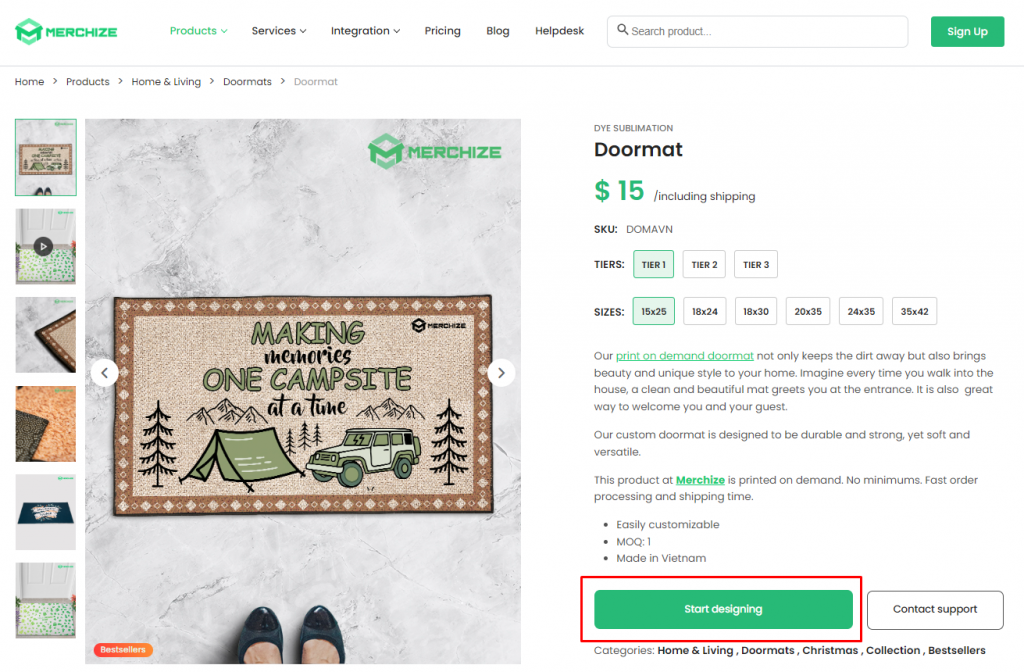
In addition, on product pages on our website merchize.com, you can click on the “Start Designing" button to start making your mockup with “Split Layout".
2. Add Product Variants
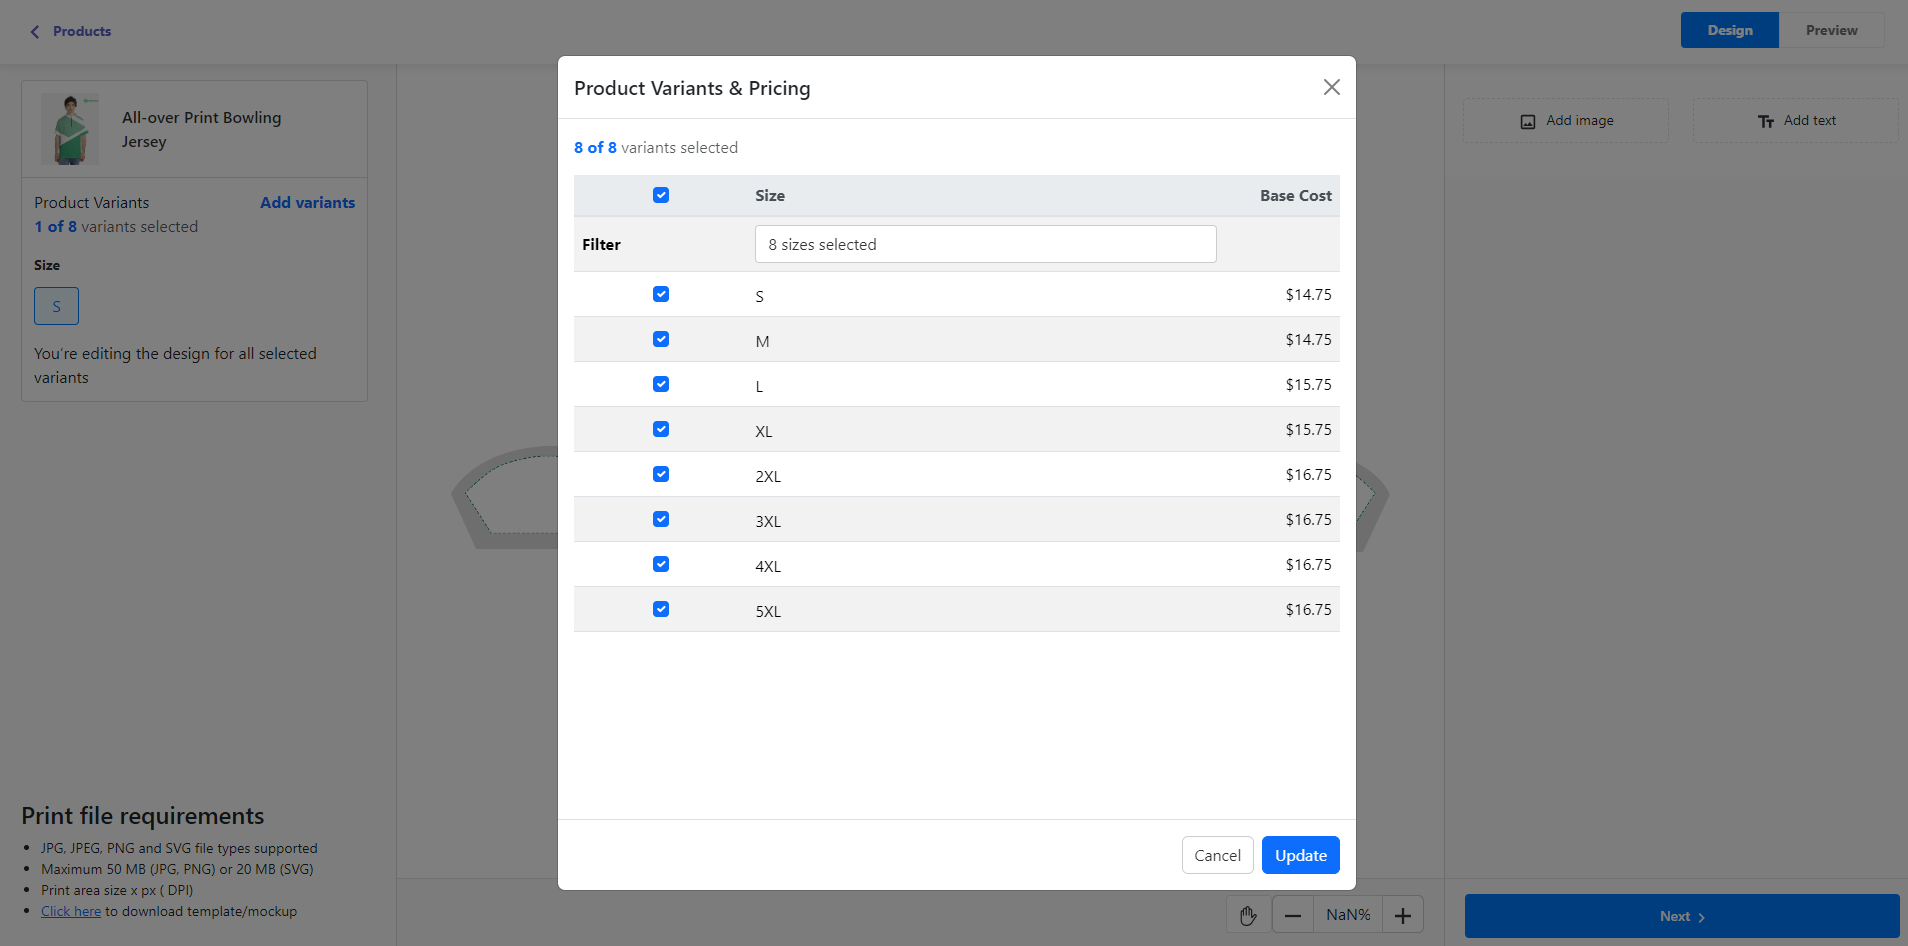
In the product box on the top left panel, click “Add Variants” to include additional sizes and color options for your product.
By default, your design will be applied to all variants. To tailor a design for a specific variant, click on that variant and then select “Mark as Specific Variant Design.”
3. Upload Your Designs and Elements
In the design editor, you can:
1, Choose design placement: Select a segment of a product and add designs specifically for that part.
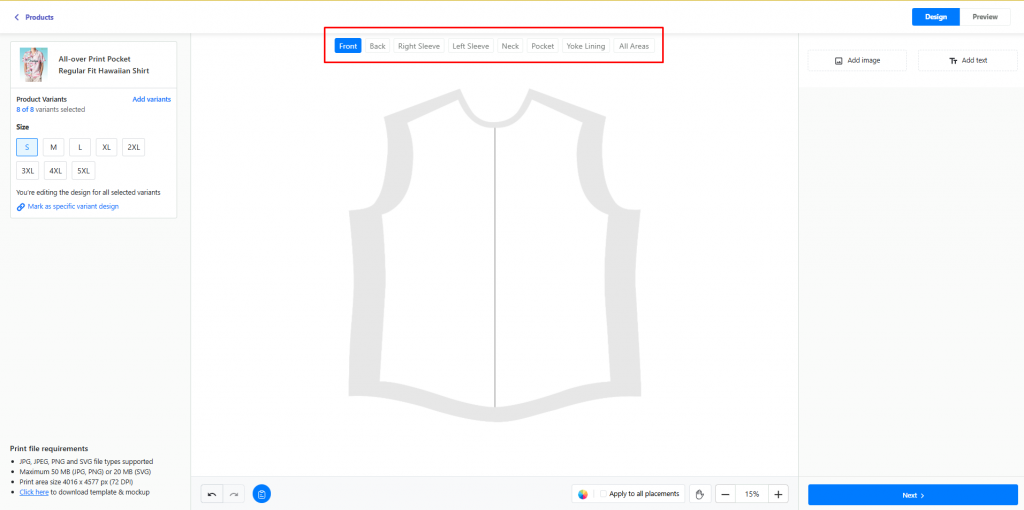
2, Add elements to your design: Upload a design/design elements that you want to see in your mockup images for each design section.
3, Adjust your design elements: Use the available design tools to adjust and refine your designs.
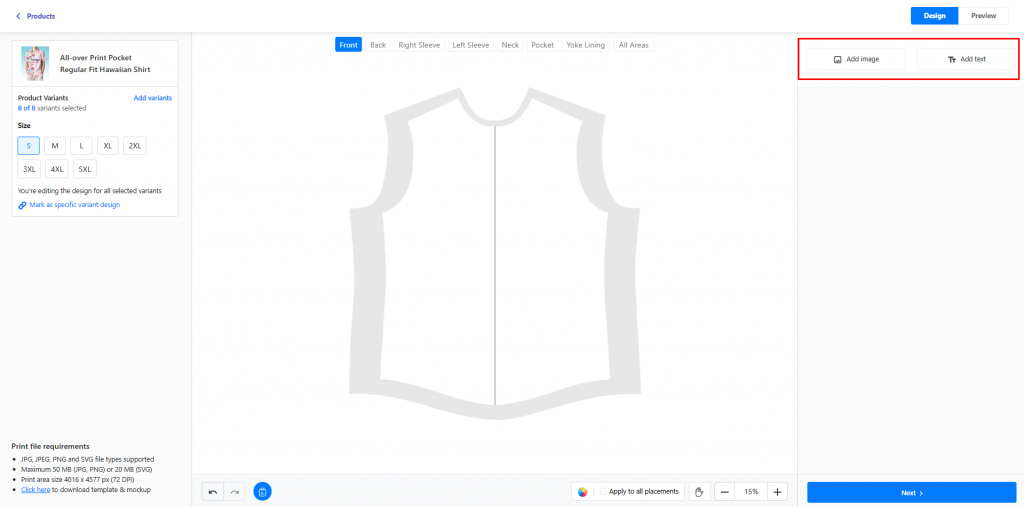
Image editor tools: Click “Add Image” to upload your design.
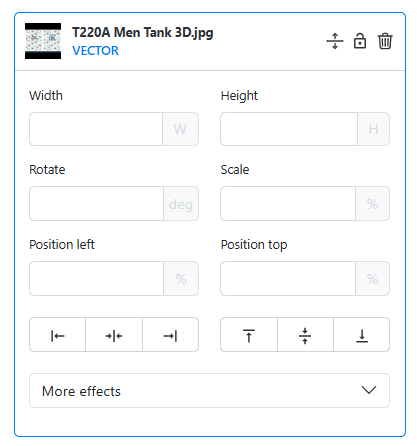
On the right-side panel, for each image, you can adjust:
- Adjust Dimensions (Width & Height): View and adjust the image’s width and height.
- Rotate: Enter degrees to adjust the image angle.
- Scale: Resize by entering a percentage of the original size.
- Position Precisely (Position left & Position top): Fine-tune placement with exact values for horizontal (Left) and vertical (Top) positions.
- Align Easily: Use quick buttons to align left, center, right, top, or bottom.
- Check DPI: Ensure the image resolution meets print quality requirements
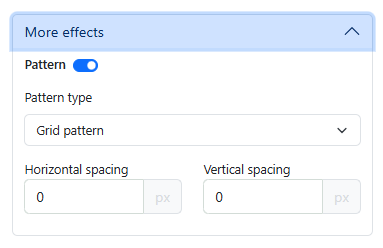
- Create pattern: Open “More Effects”, and turn on “Pattern” to create a pattern with this element. You can select a Pattern type and adjust horizontal and vertical spacing for your pattern.
Besides, when clicking a specific image, you can also see the options to do the following actions (describe in order from left to right):
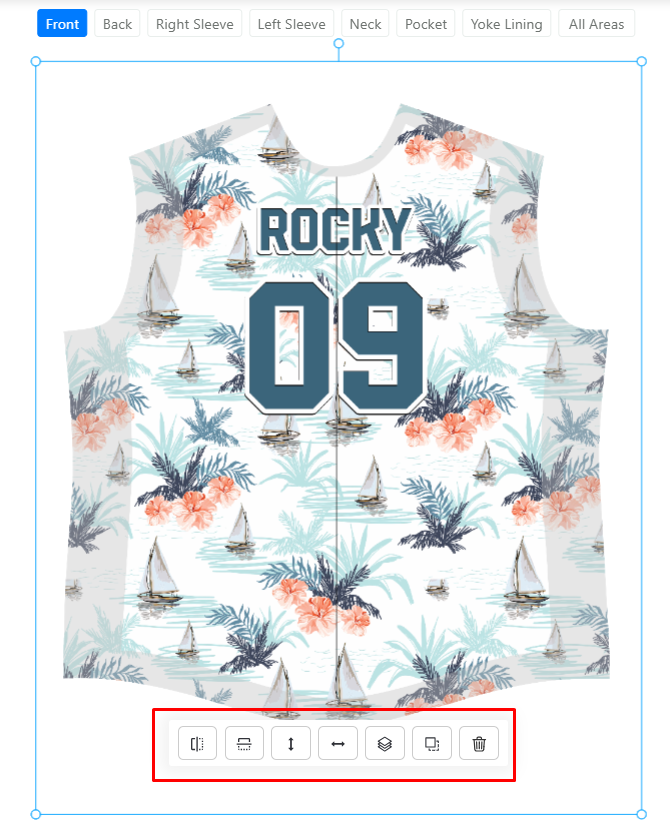
- Flip Horizontally/Vertically: Mirror the image or text left-right or up-down.
- Fit to Width/Height: Automatically resize to match the product’s width or height.
- Duplicate to All Sides: Copy the design element across all segments of the product.
- Duplicate: Create an identical copy of the element in the current position.
- Delete: Delete this image.
Note:
- Ensure your files adhere to the recommended dimensions and resolution.
- Accepted image file formats are JPG, JPEG, PNG, and SVG.
- The design library has a 10GB storage limit. If you’re close to or exceeding this limit, delete old or unnecessary files to make room for new uploads.
Text editor tools: Click “Add Text” to add customizable text.
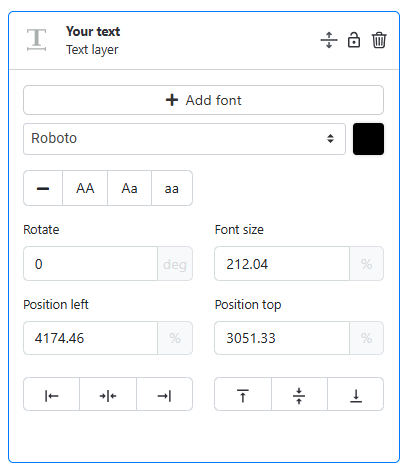
To edit your text in the mockup generator, follow these options:
- Add Font: Choose or upload a font for your text.
- Select Font: Select a font from our Font Library. You can search for font family or sort by language.
- Change font color: Select from the given palette or use hex code to pick a color for the text
- Change text format: Choose among these four options: As typed, Uppercase, Lowercase, Capitalize
- Rotate text: Enter degrees to tilt your text.
- Adjust Font Size: Increase or decrease font size.
- Adjust text position: Fine-tune left and top positioning with numerical values.
- Align & Flip: Align text vertically to left, center, or right. Align text horizontally to the top, center, or bottom.
Note:
- Ensure that all important elements, such as text and key graphics, are placed within the white area (or Safe Print Area). This white area represents the smallest size. Design elements placed within this area will be fully displayed across all product sizes.
- Any design elements placed outside the white area (in the grey area or Bleed area) might be cut off in larger sizes during production.
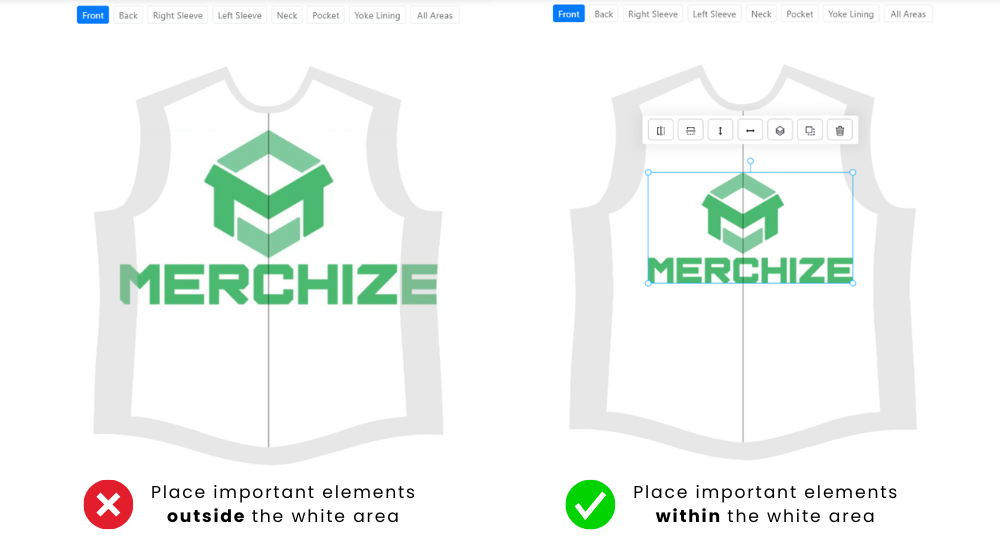
- Extend the background and non-essential parts of the design to cover the entire gray “Bleed Area." This provides a full-coverage print effect, ensuring there are no blank edges on any size.
- Click the Document icon (near the Undo/Redo button) to read the full Mockup Guideline.
Other design tools:
- Color Picker: Use the color picker to adjust the background color of different parts.
- Apply to All Placements: This option allows you to apply the same selected background color to all segments if you want a design element or color to appear consistently.
- Zoom and Navigation Controls: Zoom in or out to focus on details.
- Drag editor: Move your editor workspace with this tool
- Undo/Redo: Utilize the Undo and Redo buttons to correct or repeat actions without losing progress.
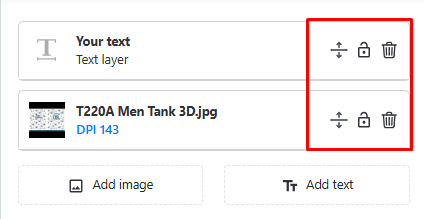
Each text and image added is treated as a layer. With each layer, you can:
- Adjust layer order by dragging them up and down
- Lock layers
- Delete layers
4. Generate Your Product Mockups
Click “Preview” to view the generated product mockups. Should you need to download the mockup, either immediately or later, this can be done in Preview mode by clicking the “Download Mockup" button.
5. Set Up the Product Information
Within the Product Variants & Pricing screen set the price for all variants or individually. Input the Title and Description in the Campaign details tab.
6. Publish Your Product
Before publishing, you may select a featured image for your product in the Mockup Image Preview tab.