Complete Guide: How to get started & set up fulfillment on Merchize
Before you get started
There are three ways that Merchize account can be used:
- Sell products directly on Merchize platform: Choose the storefront plan.
- Create & sync products from Merchize to your sale channels: See setup guidelines for each channel.
- Create/import/send orders to Merchize for fulfillment only: You just made a sale. The next step is making sure the order is shipped, delivered, or prepared for pickup in a timely manner. This below tutorial to guide you go through the fulfillment process.
You can see our detailed step-by-step video guide here:
How to use Merchize to fulfill your merch orders
I. Create a free Merchize account
To use Merchize Fulfillment service, you need a Merchize account.
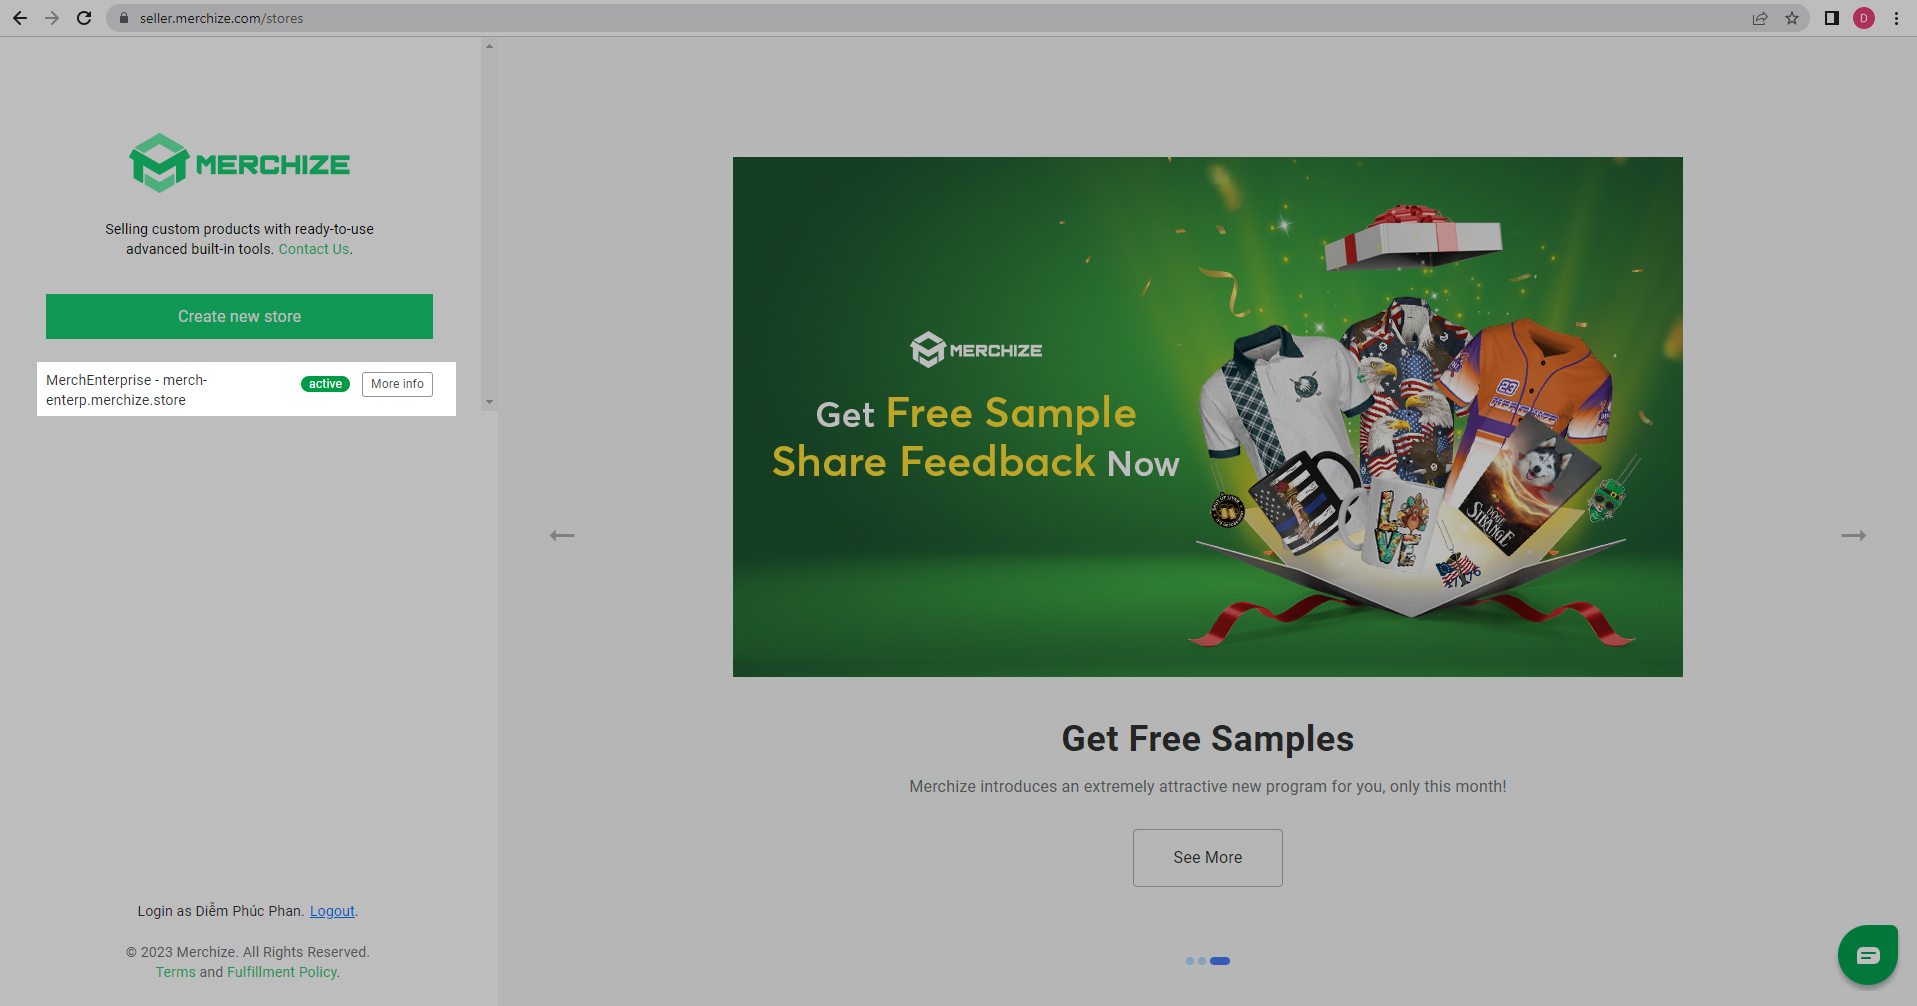
- If you have not yet signed up with Merchize, you can go to https://seller.merchize.com/
- Log in with your Gmail account, click Create new store, and select the Fulfillment plan (if you use it for order fulfillment only)
- Then create a store with your own store name
Contact Merchize support (via Livechat or Website) to activate & guide you to set up your store correctly.
II. Integrate with sale channels
Note:
- If you plan to automatically sync your sales channel orders to Merchize for fulfillment, you can set up this integration. Otherwise, you can submit orders to Merchize manually by importing CSV or creating orders directly on Merchize Account.
Luckily, Merchize easily integrates with some of the world’s most popular online marketplaces and eCommerce platforms like Shopify, Etsy, Woocommerce, eBay, Amazon for now and more integrations are under development.
Connecting Merchize to sales channels will allow users to 2-way synchronize products and orders, and manage the listings and fulfillment from within Merchize.
In your Merchize admin dashboard, you will see the integration section in the left panel.
- Then follow these detailed setup tutorials for each channel:
- Right after your stores are added to Merchize successfully, you will see the screen displaying the status if it is Connected or Failed.
Once you done integration setup, you can sync orders automatically from your store to Merchize or create and sync products from Merchize to the connected stores.
III. Create designs and mockups
1. Prepare Print File:
Note that each product may require specific design placement & have different print restrictions.
- You have to reference our print templates to ensure you’re getting the best print quality possible.
- The design instructions are included in each product template (that you can download from the product link on our website – under the mockup & template tab).
- To use Merchize Print Templates, ultimately we’d recommend working with the desktop versions of Adobe Photoshop, as they are widely supported and also what we use here at Merchize, or other free options that have the ability to work with PSD file like GIMP, Pix-lr or Photopea work too.
Feel free to contact us if you still have questions on how to prepare artwork for fulfillment.
You can read our in-depth How to prepare artwork for print, and jump onto the dedicated guide in this article.
2. Generate Mockups:
(Before submitting the artwork for generating mockups please ensure that you are submitting the ready-to-print artwork).
If you want to get our mockups of your custom products to see how they’ll look once printed or for listing purposes, there are currently two options:
- Use .PSD File:
.PSD mockup version included in each product link: In our website catalog or this folder, you’ll find a wide range of products –apparel, home decor, accessories, and more. For all the mockups you create, make sure that your design is created according to the Merchize Design Guide.
You can use Photoshop or need an alternative that has the ability to work with Smart Objects. The only free application that fits this criteria would be Photopea.
(You can also use your own unique mockups as long as they are appropriate for Merchize product details & print files).
- Use built-in mockup tool:
This tool helps to quickly visualize your ideas, and you can easily create multiple products with the same design.
To create mockups, follow these key steps:
– Log into your Merchize account, navigate to Product section, and choose “Create Campaign“.
– Pick one or many products > Then click “Design" button.
– Be sure to submit a finished print file. (Make sure your file follows the product template).
– Click “Preview" to see a realistic mockup image of your design.
Then, download the mockups to use on your e-commerce store or other online storefronts, and social media channels.
(We are continuously updating the product catalog, if you can’t find the product you want to generate mockup, please use .PSD mockup file).
IV. Fulfill & manage your orders
Choose the order fulfillment request methods:
You can choose to send orders to your Merchize account via importing orders, syncing orders, or creating orders.
1. Sync orders:
Integration of your stores and Merchize admin so your order updates as the fulfillment progresses.
The orders will be automatically synced to Merchize for seamless order management. You can see it right in the Order section of Merchize, accompanied by the tag of the order in the form of ‘channel_name’ and ‘your_store_account_name’ to identify which orders come from which store account. Then you need to upload artwork for the orders to start fulfilling.
You can fulfill the entire or part of an order, add branding labels & other package customization. You can also quickly search, view, and edit any order from all your received orders on multiple stores.
Merchize will process and return tracking automatically to your store. At that time, customers will also receive an email to notify tracking updates.
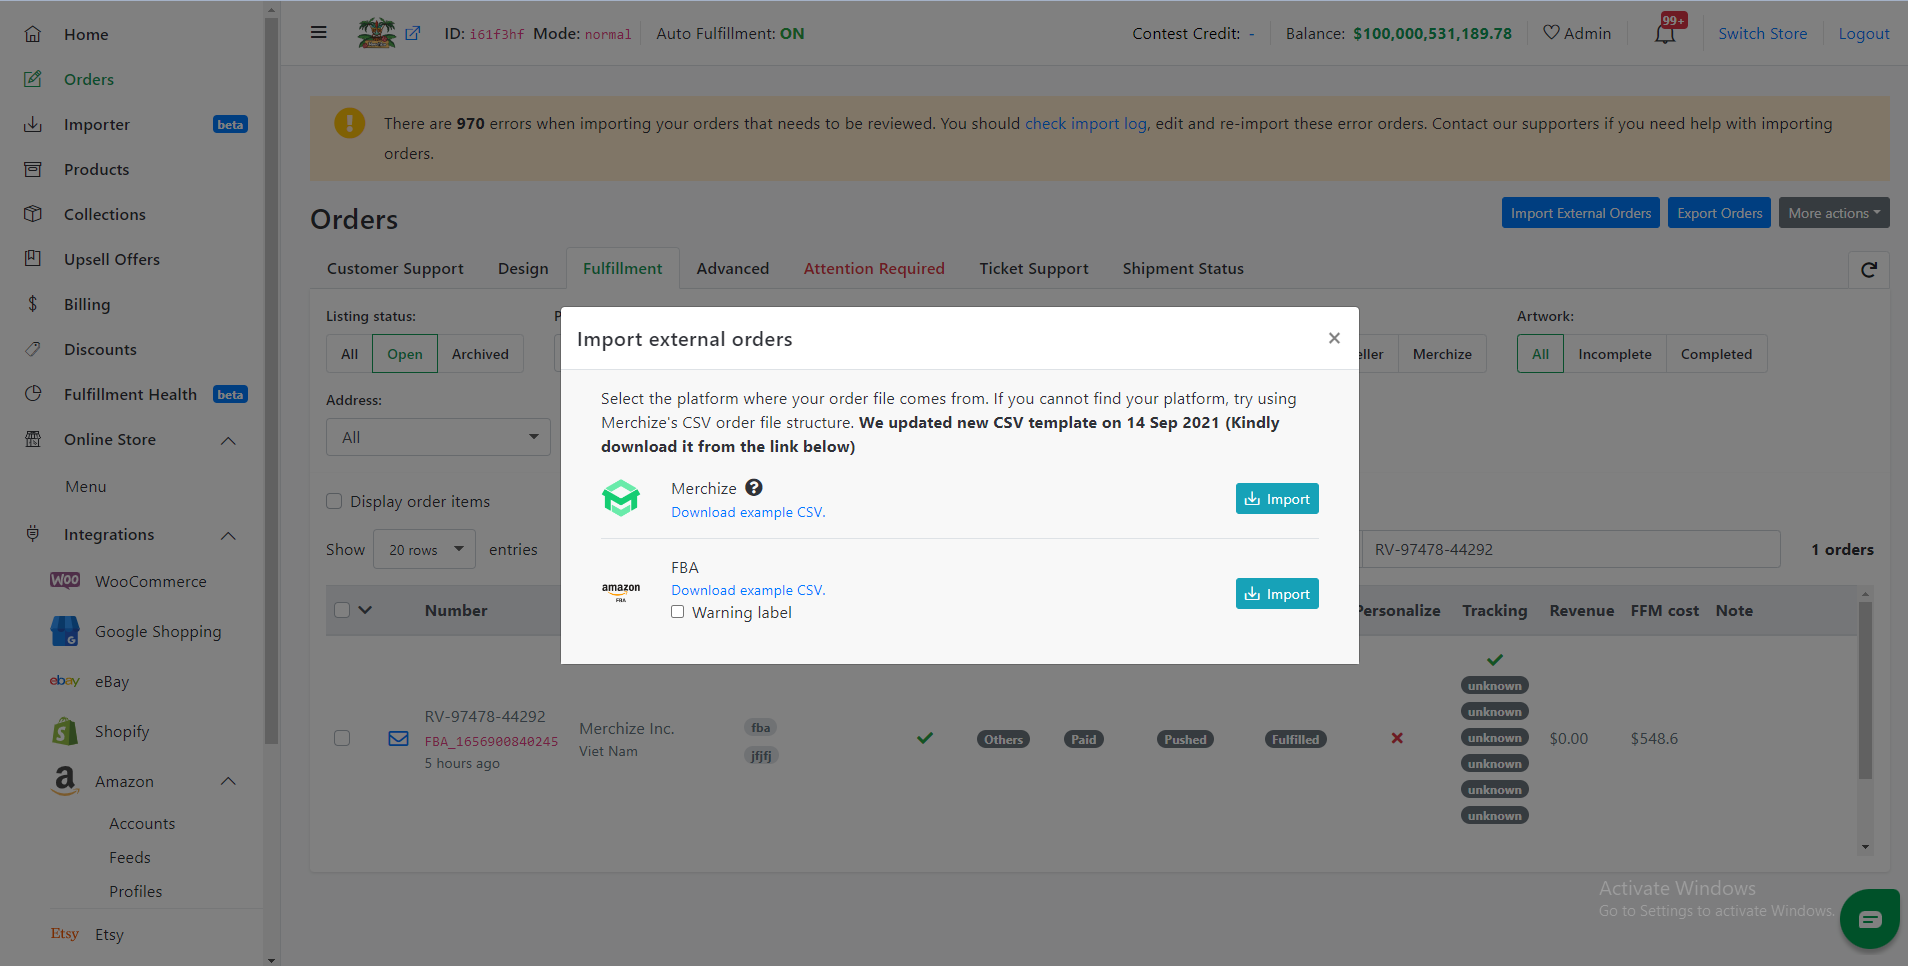
2. Import orders:
Import a CSV of your order information. Below are the steps to prepare your file:
We recommend that you start by downloading an example CSV file: Go to Admin Dashboard > Orders > Select Import External Orders > Download
Here is a list of the data you need for the CSV import. You have to enter the required information in Required fields and can leave Optional fields blank.
- mockUpFront (required)/ mockUpback/… : Link of the preview image.
Note: Your mockup files should be smaller than 4Mb. If your mockup file is larger than 4Mb, orders will fail to be imported.
- designFront (required)/ designBack…: Link of the printable file. This should be in the form of URL image link (PNG or JPEG file). You can use any cloud services (for example, Google Drive, Dropbox, etc). Please make sure you have adjusted your settings to allow us to gain access to the file.
- type (required): Example: T-shirt; Mug,…
- title (required): Example: Women Black T-shirt; …
- SKU (optional): For your reference only (Example: A unique identifier of the product)
- merchizeSku (optional): Enter the exact SKU of the product variant from the Merchize catalog that you want to use for fulfillment. If you provide this SKU, the order item will be automatically mapped to the correct Merchize product variant and will be ready for fulfillment. If you leave it blank, you’ll need to map the order item to a Merchize product later. For more detail, read our instruction on how to map order items.
- size (required): Size of the particular line item.
- color (required): Color of the particular line item (For products with no color base, for example AOP products, you can input “White" value)
- quantity (required): Quantity of the particular line item.
- thankcard, brandkitA5clothes, brandkitA5, brandkitA6 (optional): Link of the Brand Kit design. Each column represents a Brand Kit option. Only provide Brand Kit design links for orders that apply Brand Kit.
After orders are imported, if all information is correct, they will appear on Order import log page.
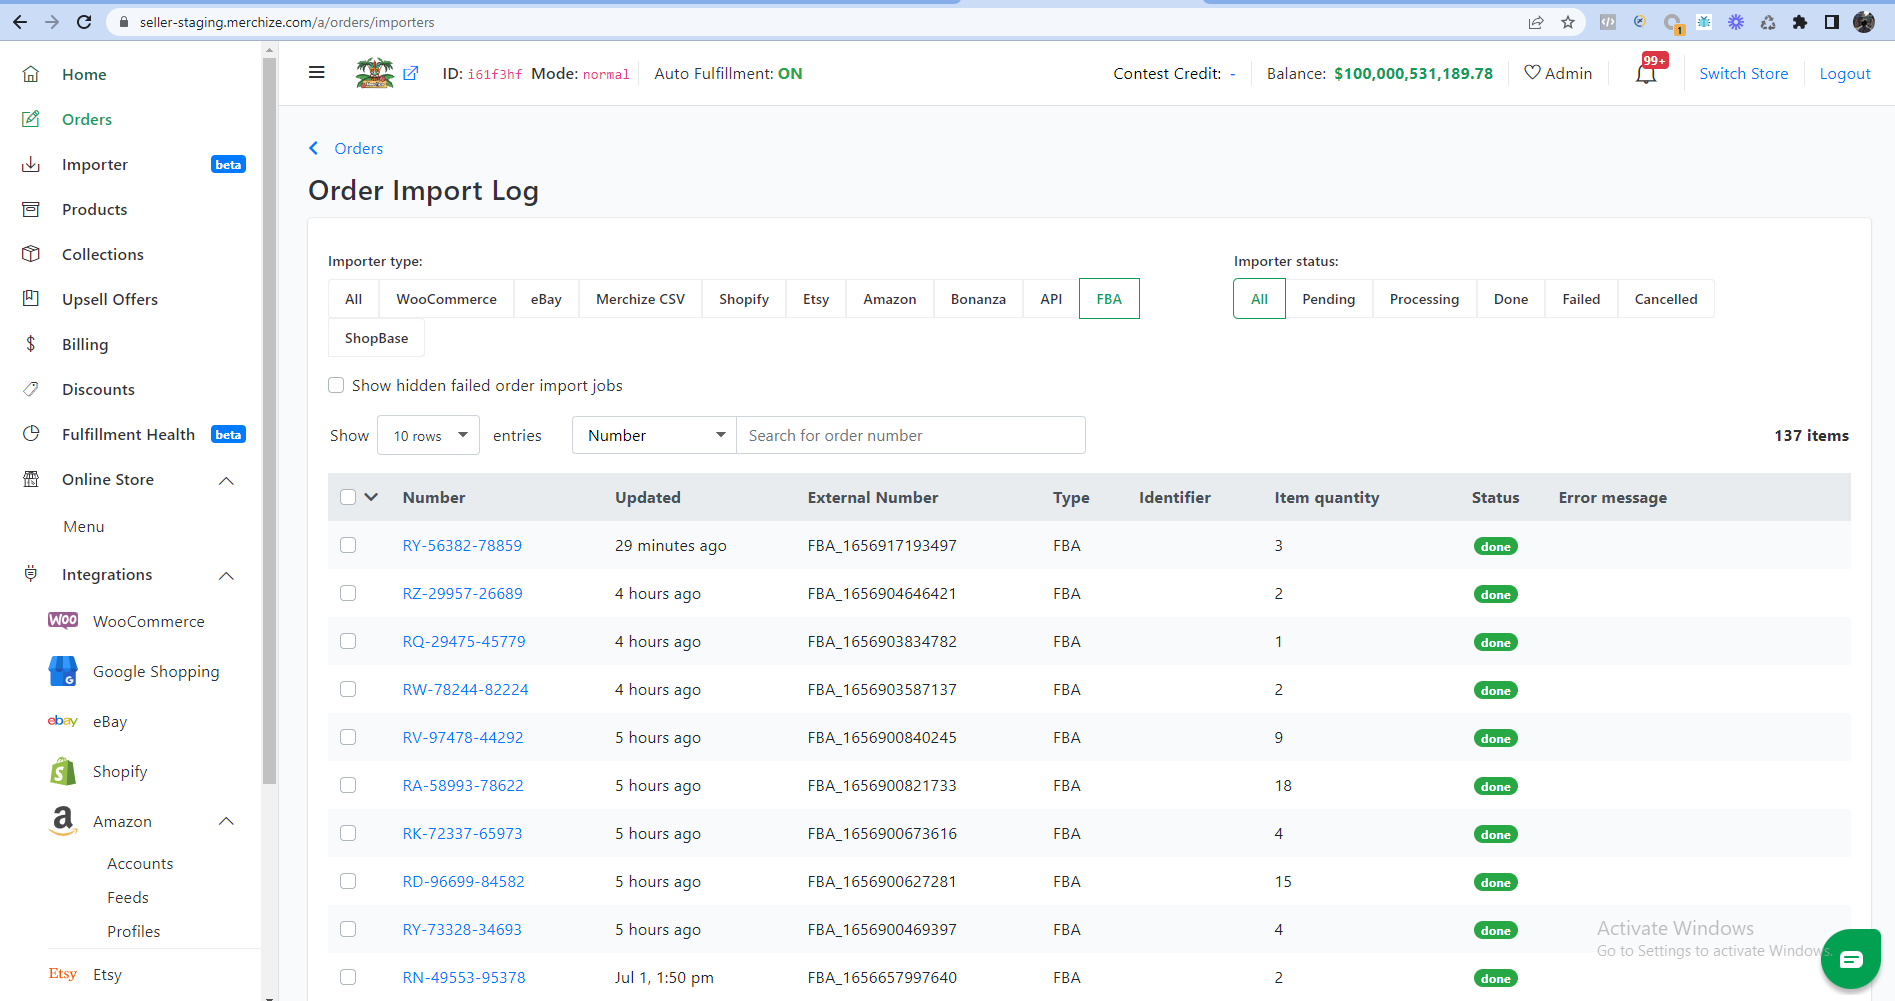
If you have an errored order, you will see it appear under the Failed tab.
3. Create orders:
Manual Orders are orders created directly in Merchize, not imported from a connected store.
You can start by following this tutorial for detailed, step-by-step instructions
4. Manage orders:
You’ll see the order details by clicking on the Order Number in Orders Section.
- The Order Detail page will show the order information along with its payment status & order history.
- As per the default settings, it may take about 5 minutes to send the order has artwork with a validated address from your store to Merchize fulfillment system. (You can choose your preferred time by changing the options in the Fulfillment setting page)
- Merchize will then process & invoice for your orders. (Please notice your invoice within 24 working hrs).
- If you want to get invoices paid for immediately, you can add funds to your store in advance. While you still have an active balance, any leftover funds will be refundable & you will be able to withdraw it.
- Once we receive your payment, we can start producing your orders.
Note: Before the order is pushed to production, it can be canceled, as well as edited (like shipping information, artwork,…) when possible.
If you would like to make changes to the “Fulfilled” order – you’ll need to contact our support to request.
Order Status:
The Fulfillment columns give you information about the state your order is in.
Order History:
Your order history keeps track of all transactions and processing activity for an order, with status updates along the way.
Order Progress:
The Order Progress section near the top of the page shows all the main events that happen to an order from the moment it is created until delivery.
5. Edit orders
After an order is created and before the order is pushed to production, you can still edit your order details. However, it should be noted that you must start editing orders within 5 minutes after the order is created. After 5 minutes, orders will be automatically pushed into production and become uneditable.
To edit an order, you should go to the detail order page. On the top right, click on “Edit order” button.
For each item in your order, you will be able to perform these actions:
- Edit item details: Edit order information including Color, Size, and Quantity.
- Delete item: Click on symbol to delete
- Duplicate item: Click on symbol to duplicate
- Add new item: Click on “Add more product to order”. If you add a new item that is similar to an existing item in the order, our system will automatically add 1 to the quantity of the existing order item.
- Edit Buyer information: You will be able to edit the following information:
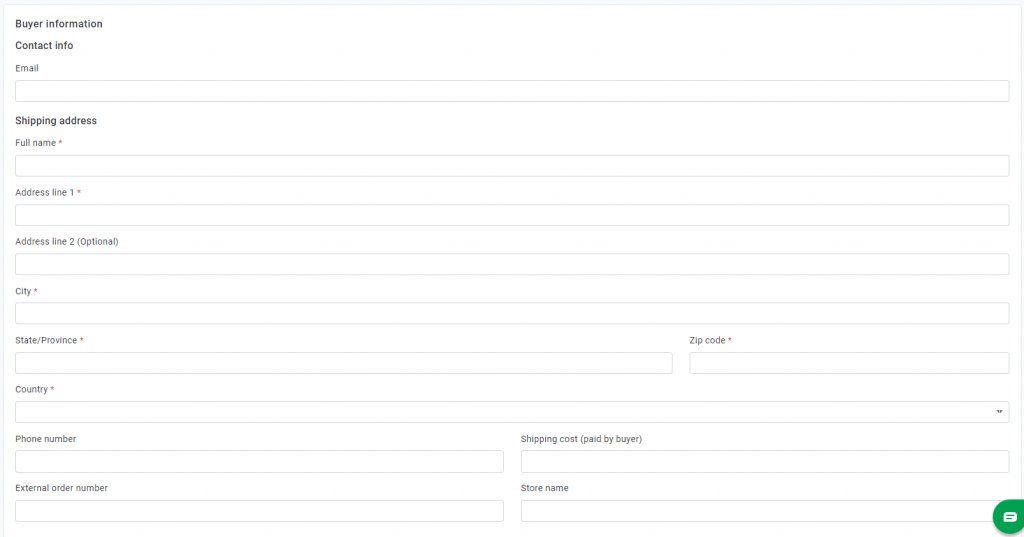
After you finish editing, click on “Save changes” button on the top right.
Note:
- As soon as you click on “Edit order”, your order will be put on hold. After you save your edit, your order will resume the process and get ready to push to fulfillment. For orders that are already on hold, editing orders won’t affect the status of the orders.
- If you make any revisions to the Buyer Information section, the order address will be validated all over again.
- You can view all changes to your order under the “History” section on the order detail page.
- With orders automatically synced from Amazon and TikTok orders imported via CSV file, your Buyer Information is not provided and, therefore, couldn’t be edited.
Process your first order on Merchize account
By default, if this is your first use Merchize fulfillment, you need to Turn on “Enable” Fulfillment By Merchize feature (in the Settings> Fulfillment page). This will take you automatically push the order requests to us.
(If you want to get your orders processed manually, or apply custom fulfillment progress, you need to contact Support Team to request appropriate configurations).
*Permissions to change settings apply only to admin/manager role of the store.
Schedule order tracking status
The “Tracking Generator" feature can be customized for the way your order tracking flow.
Once an order has been submitted to production, you will see the generated tracking of the shipment
When an order is fulfilled, it has a “Default" tracking flow status, unless you have selected another flow in the fulfillment settings.
| Options | Description |
|---|---|
| Default | The system generates the tracking when production begins. |
| ASAP | The system generates the tracking immediately when the order is proceeded. |
| At Packaging Stage | The system generates the tracking when the order is completely produced. |
| Custom Time | The number of days after an order is processed that you want the tracking for your orders to be generated (In case production times are less than this setting, tracking will be generated sooner) |
Fulfill branding kit & packing inserts
V. Topup & Billing
How to pay for orders fulfilled on Merchize?
From the Billing Page, click Topup in Credit section. Fill out the Topup form to submit your payment information.
Note: Currently, you can only use the Store Balance to pay for orders.
The following payment options are available for depositing money to your balance:
- Paypal:
- Instant deposit by either using your Paypal balance, credit card, or debit card.
- Mass Payment or Goods & Services transfer
- Payoneer (PO): Instant Deposit & Standard Transfer
- Pingpong transfer
- Bank-to-bank: Instant Deposit & Standard Transfer (Vietnamese bank account only)
Learn more about how does the Merchize billing system work.
You may need to wait for the invoices issued after we process your orders.
- If you want to get invoices paid for immediately, you can add funds to your store in advance. While you still have an active balance, any leftover funds will be refundable & you will be able to withdraw it.
- Once we receive your payment, we can start producing your orders.
Please note that your order will remain on hold need payment until we receive the check with the correct order total. The time it takes to see your payment reflected in your balance depends on how you use the payment option.
How to Set Up Your Balance Alert
To keep your fulfillment process running smoothly, it’s important to maintain enough credits in your balance.
Our Balance Alert feature makes this easy by automatically notifying you whenever your balance drops below a certain level. This way, you can take quick action to ensure your orders are fulfilled without any interruptions.
1, Go to “Settings" > Billing
2, In the “Balance Alert" section, check the box labeled “Enable feature."

3, Enter the balance amount at which you want to receive notifications.

4, Click “Save changes”
How to Start a Clothing or Merch Brand with Merchize Fulfillment
When running or expanding your online merch business, regardless of whether you’re just a startup or expanding an existing company, it’s important to keep your passion and creativity alive. The beauty of a print-on-demand business is that you can continue to add new product lines and discover new customer segments around the world.
We have numerous print processes available which all have differing minimum orders and can advise on the best process for your needs and budget. We can provide bulk ordering at wholesale prices, offer discounts for certain sales thresholds.
We’re now able to develop tailor-made products to your volume and specifications (like tailored options, finishing, variances or attributes of products), typically based on our manufacturing technologies.