Setting up the Menu Navigation Management feature for Store
To make it easier to manage and edit the menu, Merchize has launched a Menu Navigation Management feature that allows sellers to set up navigation to display the main menu.
With this new feature, you can:
1. Create, view, edit, delete and manage the menu.
2. Arrange the order of the menu.
3. Set menu levels, up to 3 levels (1-2-3).
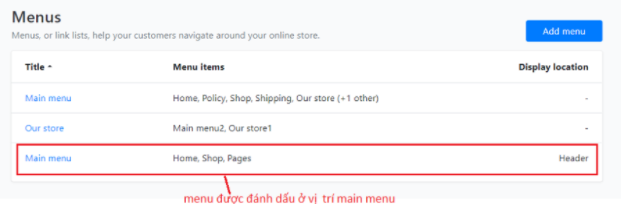
4. Mark the menu being used as the main menu.
5. Set an unlimited number of menu items.
1. Create a menu
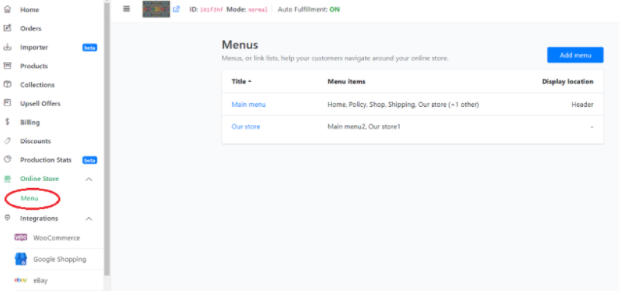
Step 1: Log in to the system (seller.merchize.com). Then open the Manage menu feature.
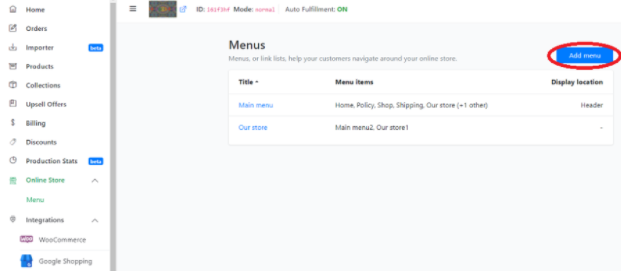
Step 2: Click [Add menu], create a new menu
Step 3: You can add, edit, delete the menu items, set the position, grant the menu items as follows:
1. Enter Title information, select a value for Display location
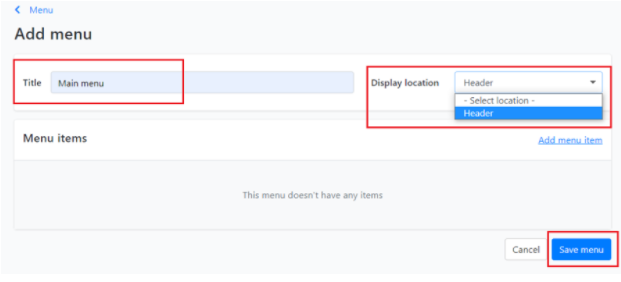
2. Add a new menu item
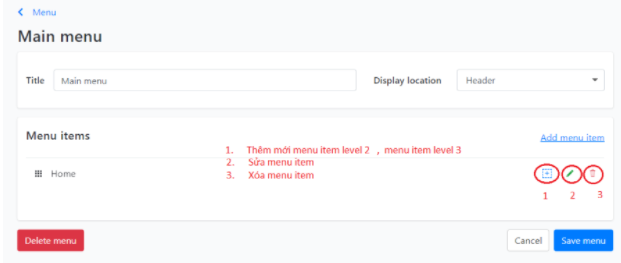
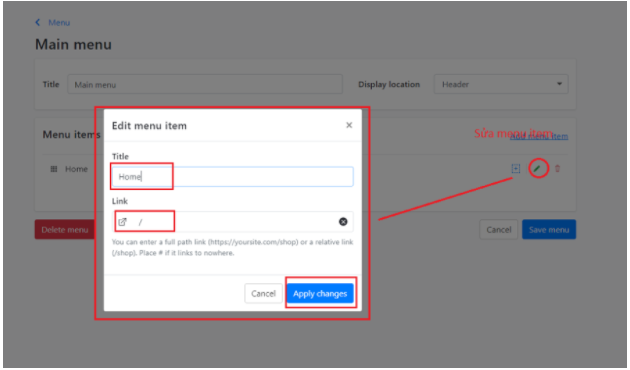
3. Add a new menu item level 2, edit a menu item, delete menu item

4. Drag/Move the menu item to the desired position to change the position, grant the menu item.
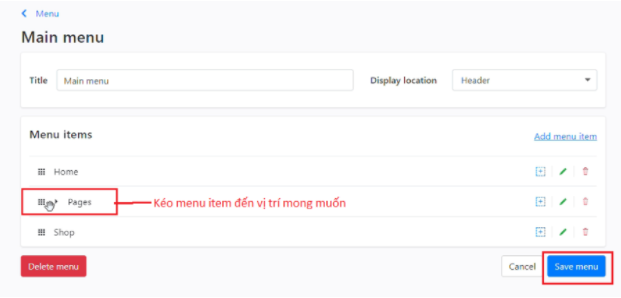
Step 4: Click [Save menu] to save the newly created information.
2. Edit menu
Step 1: Log in to the system, open the Manage menu feature and select the menu that you want to fix.
Step 2: Update menu information. Follow similar tasks of step 3 part 1.
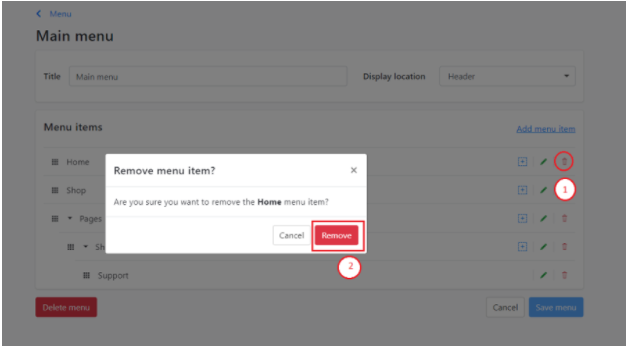
3. Delete navigation menu
Step 1: Log in to the system. Open the Manage navigation menu and select the menu that you want to delete.
Step 2: Click the Delete menu in the popup, the menu is successfully deleted.
4. View navigation menu
Step 1: Log in to the system. Open the Manage navigation menu and select the menu that you want to view.
Step 2: Navigation menu detail screen will be displayed, you can view the details of the Navigation menu.
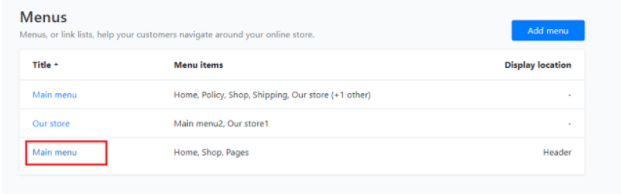
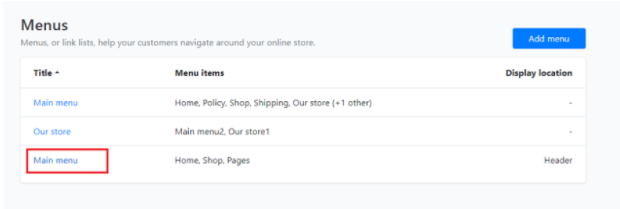
5. View menu list
Log in to the system. Open the Manage navigation menu feature. You can view the list of created menus, and the ticked menu in the main menu.