Connect Merchize to Shopify API via a Custom App With Client ID and Secret ID
From January 1, 2026, Shopify requires new seller accounts to use the Client ID and Client Secret method to connect with a custom app. To keep up with Shopify’s current update, Merchize has introduced a new connection option for our Shopify custom app.
- Mandatory for New Sellers: If you registered your Shopify seller account from January 2026 onwards, you must use the Client ID and Client Secret method to connect to Merchize.
- If you are an existing seller (pre-2026) using an old Access Token, your current connection will still work. However, for all new connections, the Client ID method is the way forward.
Read more: How to Connect Merchize to Shopify API via a Custom App With with Access Token.
How to Connect Merchize to Shopify API via Client ID & Secret ID
Step 1: Create Custom App and Configure the Shopify App
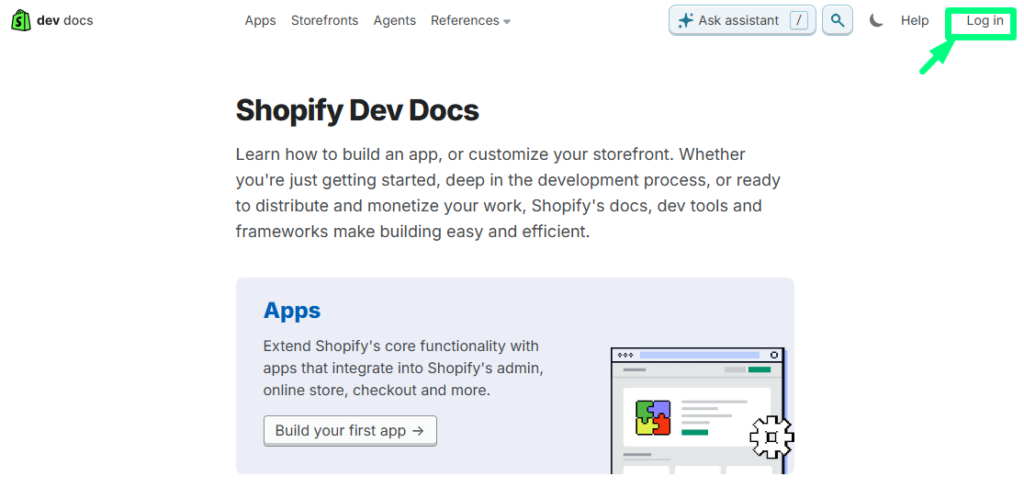
1. Log in to your Shopify Developer Dashboard.
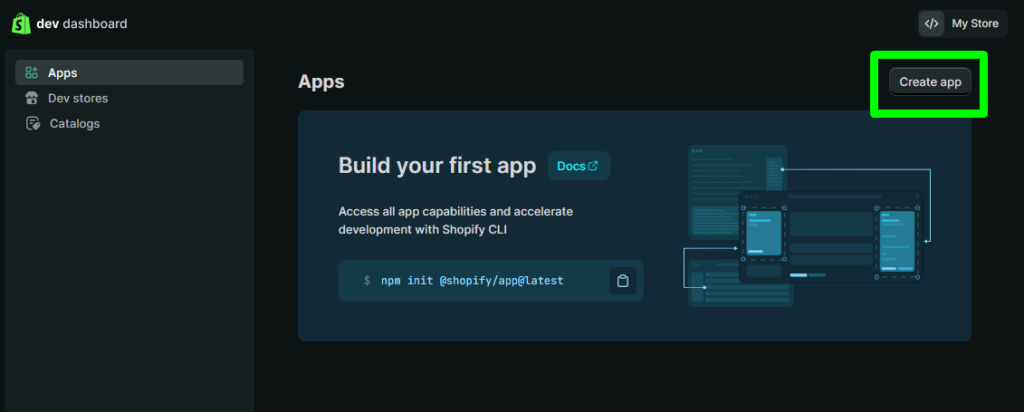
2. Click Create app and select Start from Developer Dashboard.
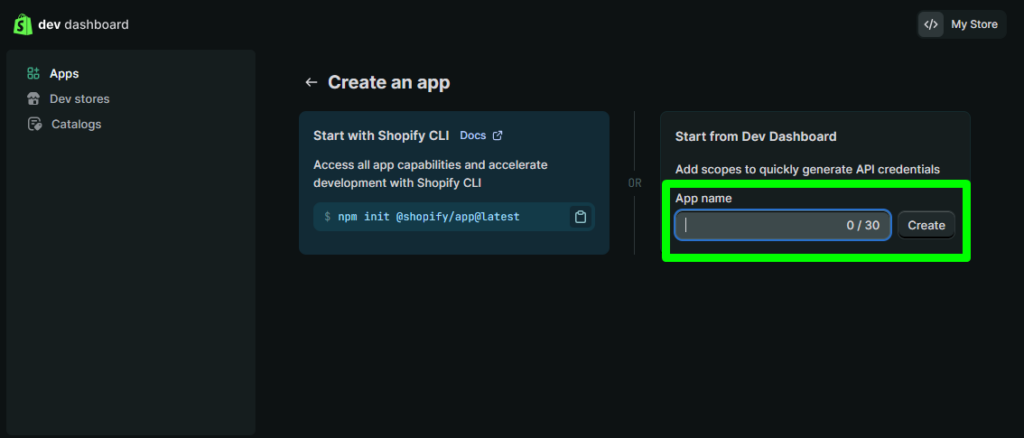
3. Enter your App Name and click Create.
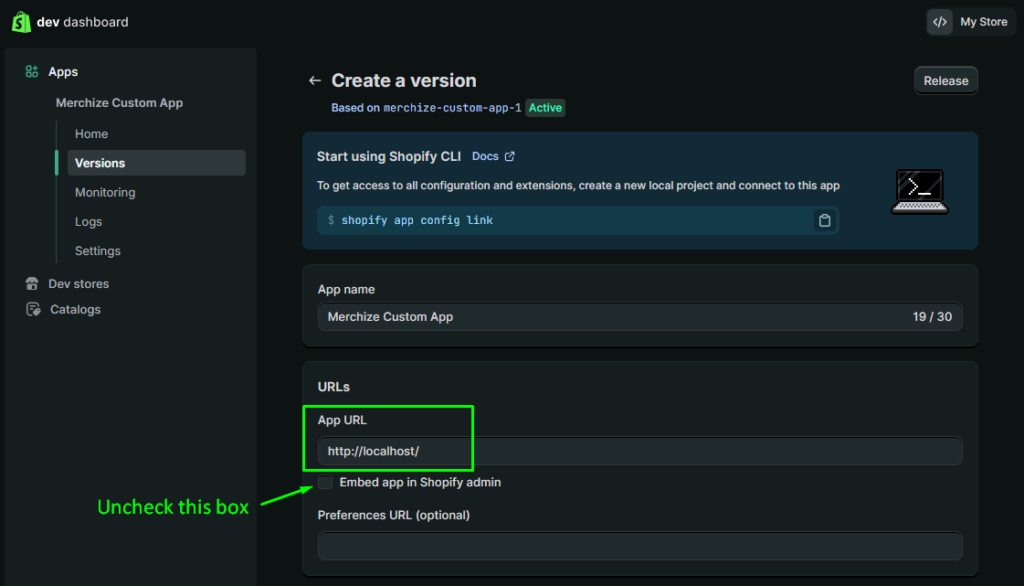
4. Navigate to the Versions page and click Create a version to configure the following:
-
- App URL: Set to http://localhost/
- Embed app in Shopify admin: Uncheck this box.
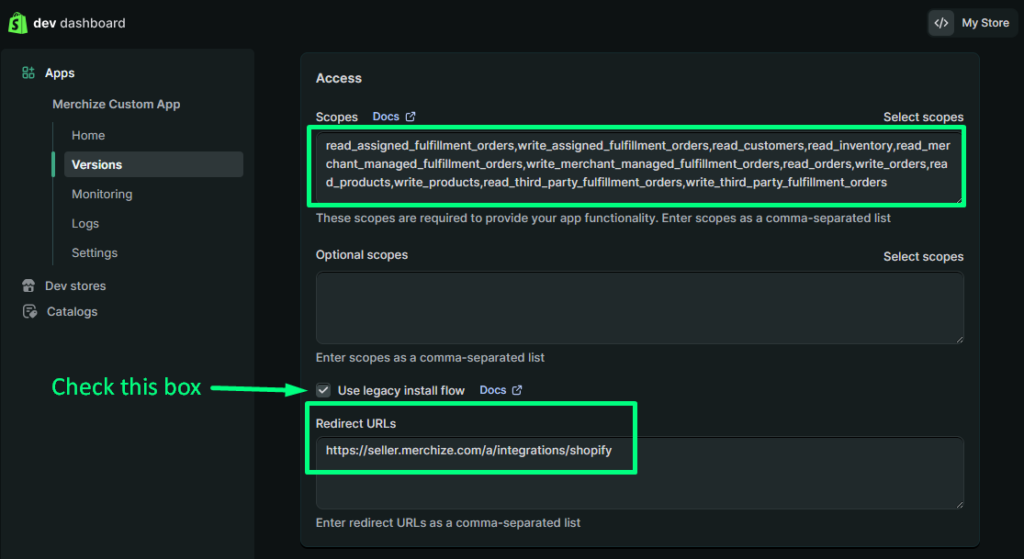
- Access Scopes: Add the following:
-
read_assigned_fulfillment_orders,write_assigned_fulfillment_orders,read_customers,read_inventory,read_merchant_managed_fulfillment_orders,write_merchant_managed_fulfillment_orders,read_orders,write_orders,read_products,write_products,read_third_party_fulfillment_orders,write_third_party_fulfillment_orders
- Use legacy install flow: Check this box (Set to True)
- Redirect URLs: https://seller.merchize.com/a/integrations/shopify
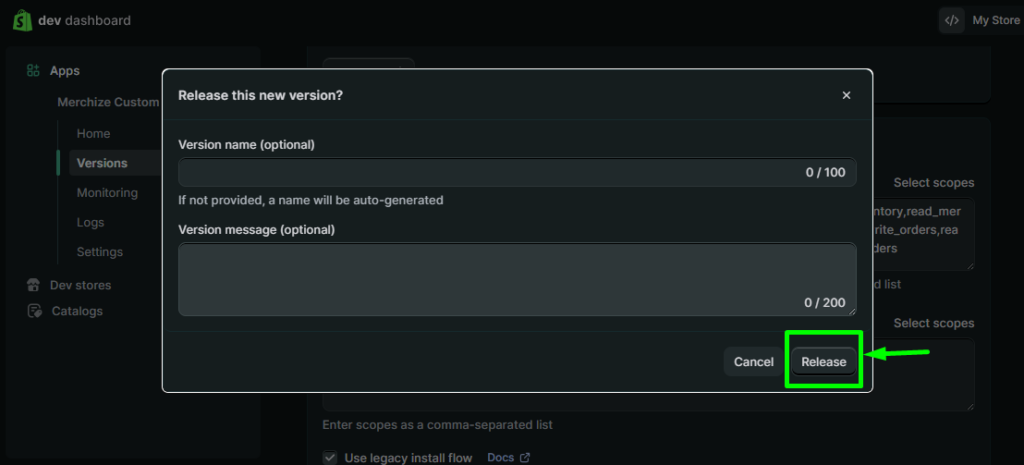
5. Click Release to save your configuration.
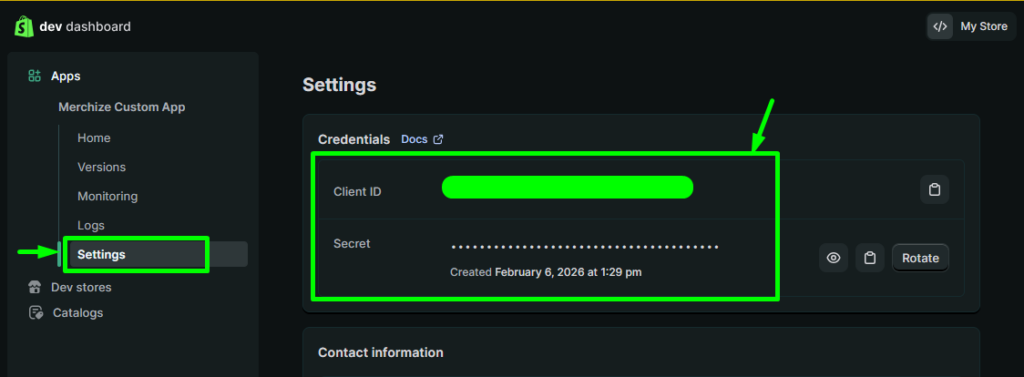
6. Go to Settings > Credentials and copy your Client ID and Client Secret for later use.
Step 2: Connect to Shopify
1. In Your Merchize Admin, go to Integration > Shopify.
2. You will see two tabs. Ensure you are on the default tab: Have a Client ID & Secret ID.
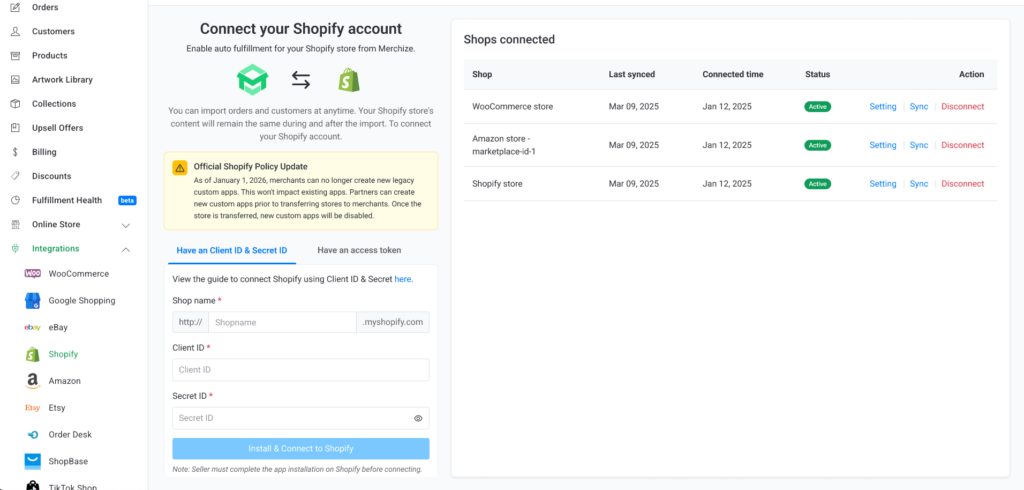
3. Fill in the following three required fields:
-
- Shop Name: Enter your Shopify domain (e.g., your-store-name). Do not include spaces.
- Client ID: Paste the ID you generated in Shopify.
- Secret ID: Paste the Secret ID from Shopify.
4. Once all fields are filled, click Install & Connect to Shopify button.
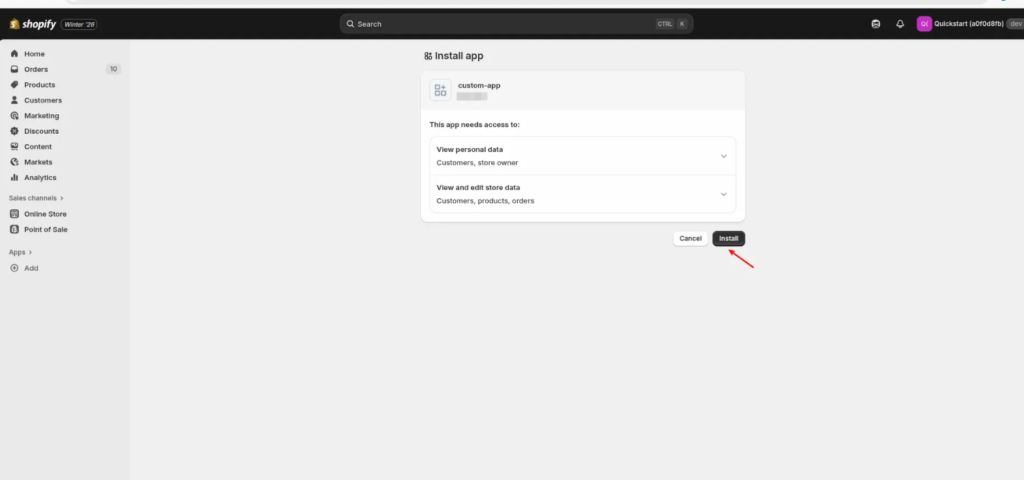
Step 3: Complete the connection and store the Access Token
A new tab will open, directing you to Shopify to authorize the installation. Click Install to confirm.
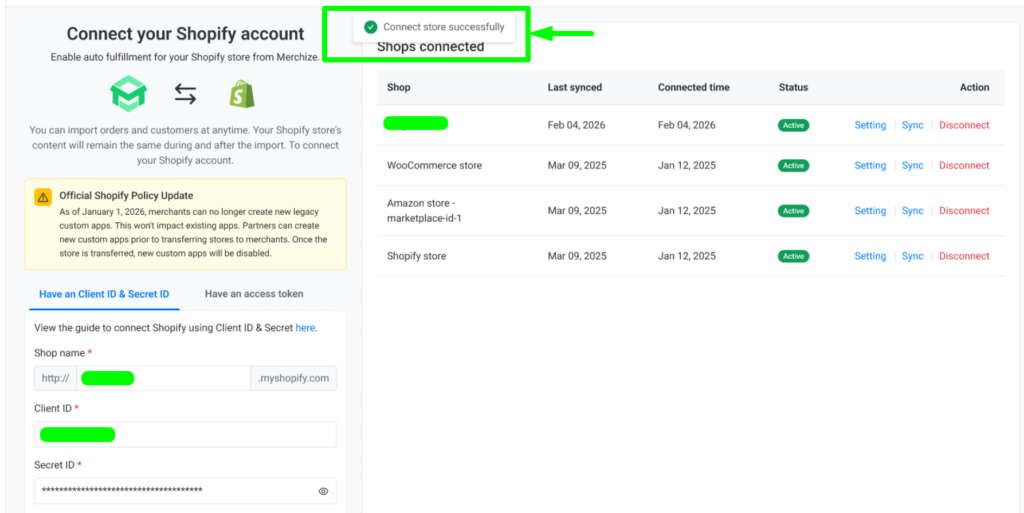
Once authorized, you’ll be returned to Merchize.
If your store is connected successfully to Shopify, you will see a pop-up confirming “Connect store successfully”. Your store status will now show as Active in your connected shops list.
If it fails, it will show “Store connection failed." Make sure the credentials entered were incorrect. Please double-check your Client ID and Secret and try again.
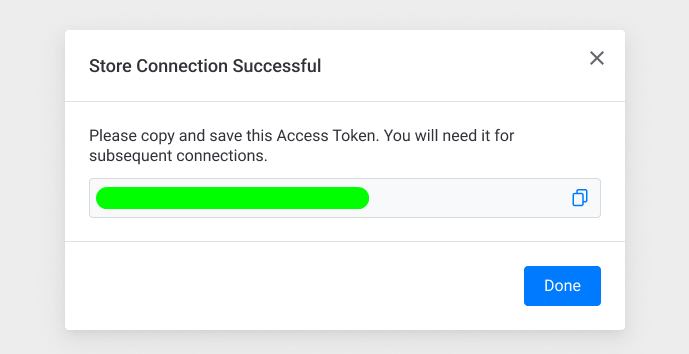
Remember: A success pop-up will appear showing a newly generated Access Token. Click the copy icon and save this token in a safe place for your records. Click Done.